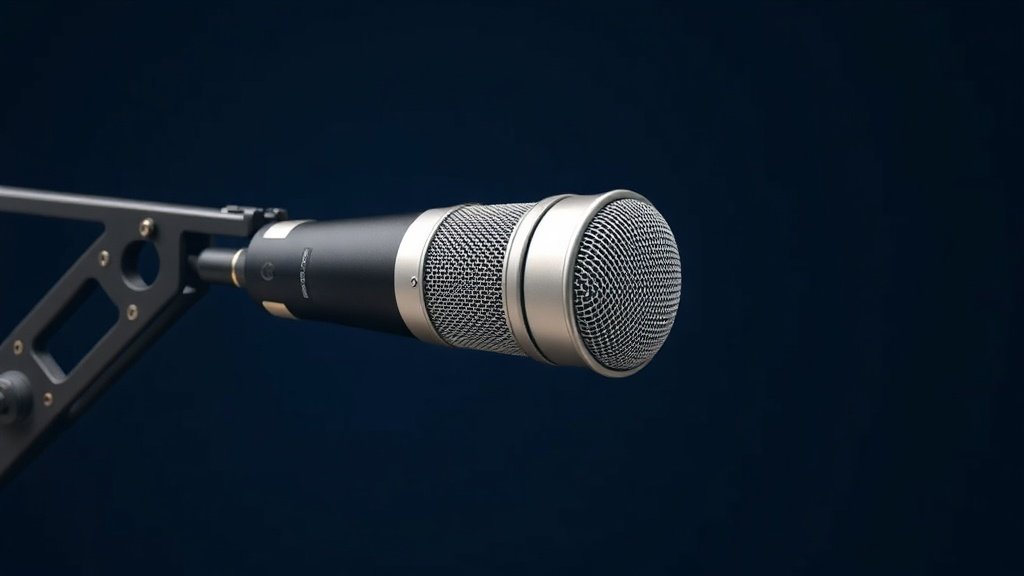
The microphone you choose for solo acoustic performance recording is not a neutral tool. It is an interpretive decision that colours every element of the sound before a single plug-in is loaded.
Recording a solo acoustic performance sounds straightforward on paper. One instrument, one performer, one room. In practice, it is one of the most demanding recording scenarios you will encounter, because there is no band mix to hide behind, no layering to smooth over tonal problems, and no arrangement to distract the ear from a microphone that was poorly matched to the source. Every frequency decision the microphone makes is fully exposed in the final recording.
This guide covers the core factors that determine whether a microphone suits solo acoustic performance recording: transducer type, polar pattern, diaphragm size, self-noise, and placement strategy. It also addresses some of the most common errors engineers and performers make when selecting and positioning a microphone for this specific application. The goal is to give you enough understanding to make a decision grounded in physics and acoustics rather than marketing language.
Condenser or Dynamic: Understanding the Core Transducer Choice
For solo acoustic performance recording, the condenser microphone is the default choice for most engineers, and for good reason. Condenser capsules respond faster to transient information than dynamic capsules do, which means they capture the attack of a fingerpicked guitar note, the initial consonants of a vocal phrase, or the bow contact on a violin string with significantly more accuracy. That transient fidelity is what gives acoustic recordings their sense of presence and realism.
Dynamic microphones are not wrong for acoustic performance recording, but they suit specific circumstances. If you are recording in an untreated room with significant low-mid buildup, or if the performance involves very high sound pressure levels, a dynamic such as the Shure SM7dB or the Electro-Voice RE20 can manage the environment more forgivingly. These microphones reject off-axis room noise more effectively in practice, even if the polar pattern specification on paper looks similar to a condenser cardioid.
Ribbon microphones occupy a middle ground worth understanding. A ribbon transducer like the Royer R-10 or the AEA R84A offers a natural high-frequency roll-off that flatters certain acoustic instruments by reducing harshness and sibilance. The figure-of-eight polar pattern inherent to most ribbon designs also introduces rear pickup, which can either be a creative tool or a problem depending on your room. Ribbons reward careful placement and a quiet acoustic environment more than any other transducer type.
Polar Patterns and Why They Matter More Than Most Specifications
The polar pattern of a microphone describes which directions it accepts sound from and which directions it rejects. For solo acoustic performance recording, this single specification has more practical impact than frequency response or sensitivity figures, because it determines how much of your recording is the instrument and how much is the room.
A cardioid polar pattern is the starting point for most solo acoustic work. It accepts sound from the front, attenuates sound from the sides, and rejects sound from the rear. In a treated room or a well-managed recording environment, a cardioid microphone such as the Neumann KM 184 or the AKG C414 XLII set to cardioid gives you focused pickup with manageable room contribution. The AKG C414 XLII is particularly useful because its switchable polar patterns let you test cardioid, hypercardioid, and omnidirectional responses on the same session without changing microphones.
Hypercardioid and supercardioid patterns narrow the acceptance angle further, which can be useful in a reverberant space where you need to reduce room sound. However, these patterns introduce a small rear lobe of sensitivity, which means positioning matters more precisely. An omnidirectional pattern captures sound equally from all directions, which sounds counterintuitive for isolation purposes, but in a genuinely well-treated room an omnidirectional microphone such as the Sennheiser MKH 8020 can produce a more natural, open sound than a cardioid because it does not exhibit proximity effect and its off-axis response is essentially flat.
The polar pattern of a microphone shapes the character of a solo acoustic recording more decisively than any processing applied afterwards.
Diaphragm Size: Large Versus Small and What the Difference Actually Sounds Like
Large diaphragm condenser microphones, typically those with a capsule diameter of approximately one inch or greater, have a character that many engineers describe as full, weighty, or present. The Neumann U87 Ai, the Audio-Technica AT4050, and the Rode NT1 are all examples of large diaphragm condensers with distinct sonic personalities despite all being marketed for similar applications. Large diaphragm microphones tend to add a degree of flattering coloration to acoustic sources, which can complement a vocalist or a guitar recording where warmth is desirable.
Small diaphragm condenser microphones, with capsule diameters of roughly half an inch, are often described as more accurate or transparent. The Neumann KM 184, the DPA 2011C, and the Schoeps MK 4 are instruments of considerable precision. They tend to handle off-axis sound with more consistency than large diaphragm designs, which matters when a performer moves during a take. A small diaphragm microphone is frequently the better technical choice for acoustic guitar, mandolin, or any instrument where the high-frequency overtone structure is central to the character of the sound.
The practical consideration is this: large diaphragm microphones are more forgiving of a difficult recording environment because their inherent coloration can mask room problems. Small diaphragm microphones reward a good room and a stable performer. If your recording space is untreated and the performer moves freely, a large diaphragm such as the Rode NT1 or the Audio-Technica AT4040 will typically produce a more consistent result across a full take.
Self-Noise, Sensitivity, and the Quiet Acoustic Source Problem
Solo acoustic performance recording frequently involves instruments and voices that are quieter than most engineers expect before they have worked with them extensively. A fingerstyle guitarist playing at a conversational dynamic level, a vocalist recording a hushed ballad, or a ukulele played softly all produce low sound pressure levels at the microphone capsule, particularly if the microphone is positioned conservatively to capture a blend of the instrument rather than a close-miked aggressive sound. In these situations, the self-noise of the microphone becomes audible in a way it would not be when recording loud sources.
Self-noise is measured in decibels A-weighted and represents the electronic noise floor the microphone itself generates. For quiet acoustic sources, you want a self-noise figure below 12 dBA if possible. The Neumann U87 Ai specifies 12 dBA. The Rode NT1 specifies 4.5 dBA, which is exceptionally quiet for its price point. The DPA 4006A specifies 9 dBA. These figures are not marketing abstractions. In a quiet room recording a softly played acoustic guitar, the difference between a microphone with 6 dBA of self-noise and one with 18 dBA of self-noise is clearly audible on the recording, particularly in the spaces between phrases where the noise floor becomes exposed.
Sensitivity also plays a role here. A microphone with higher sensitivity outputs a stronger signal for a given sound pressure level, which means the preamplifier in your audio interface does not need to apply as much gain to reach a usable recording level. Less preamp gain means less amplified noise from the interface itself. This is why a high-sensitivity, low-noise microphone such as the Neumann KM 184 or the Schoeps MK 4 pairs well with a clean preamp and a quiet acoustic source in a way that a less sensitive microphone simply cannot match regardless of how good the capsule is.
Microphone Placement for Solo Acoustic Performance
Placement is where the technical knowledge about microphone specifications connects to the practical reality of the recording session. For acoustic guitar, the most common starting position is the intersection of the neck and body, angled toward the sound hole but not pointed directly into it. Pointing a microphone directly into the sound hole of an acoustic guitar produces a boomy, unnatural low-frequency buildup that almost no processing can fully correct afterwards. Moving the microphone toward the twelfth fret while angling it slightly toward the body produces a more balanced result that captures both the string transient and the body resonance.
For voice, the standard starting position is six to twelve inches in front of the mouth, slightly above or below the lip line to reduce plosive energy hitting the capsule directly. A pop filter, whether foam or mesh, is not optional for vocal recording. Even experienced vocalists produce plosive bursts on consonants that create low-frequency spikes capable of obscuring an entire phrase. The Avantone PS-1 is a well-regarded mesh pop filter that provides consistent protection without softening high-frequency content the way foam windshields sometimes do.
When recording voice and acoustic guitar simultaneously with a single microphone, which is a legitimate and sometimes sonically superior approach to two-microphone setups in a difficult room, an omnidirectional microphone positioned approximately two to three feet from the performer at chest height frequently produces the most natural balance between voice and instrument. The lack of proximity effect in an omnidirectional pattern means the tonal balance remains consistent as the performer moves naturally through a take, something a cardioid microphone positioned close to the source cannot offer.
Placing the microphone directly in front of the sound hole of an acoustic guitar is one of the most common errors in acoustic recording. The sound hole is a port for low-frequency air movement, not the primary acoustic radiating surface of the instrument. Position the microphone toward the neck joint and angle it gently toward the body for a more balanced frequency response.
Selecting a microphone based on frequency response graphs without considering polar pattern behaviour is a fundamental mistake. A microphone with a beautifully flat on-axis frequency response can sound harsh and coloured on acoustic sources if its off-axis response is uneven, because reflected room sound arrives from all directions. Always check polar pattern diagrams at multiple frequencies, not just the on-axis response curve.
Relying entirely on post-processing to fix problems that correct microphone placement would have prevented is a waste of recording potential. Equalisation and dynamic processing cannot restore transient information that a poorly positioned or mismatched microphone failed to capture. Spend time on placement before the session and the editing process becomes significantly more straightforward.
Conclusion
Choosing a microphone for solo acoustic performance recording requires matching transducer type, polar pattern, diaphragm size, and self-noise specification to the specific instrument, the acoustic environment, and the dynamic range of the performance. There is no universal answer, but a low-noise small diaphragm condenser in a treated room or a warm large diaphragm condenser in a difficult space will serve most situations well. Get the placement right first, then let the microphone do what it was designed to do.

FREE DOWNLOAD
Stop Guessing. Start Buying Smart.
The specs that actually matter, demystified.
Headphones, microphones, the spec sheet jargon you can ignore — all in one quick-reference PDF. Free, instant, no fluff.
Send Me the CheatsheetYou'll also receive occasional new guide notifications. Unsubscribe anytime. No spam, ever.