The microphone determines whether viewers focus on your message or struggle to understand what anyone is saying through muddy reverb and background noise.
Video production demands different microphone considerations than music recording or podcasting. Distance from talent, camera noise, room acoustics, and movement all create challenges that studio recording rarely encounters. After fifteen years mixing dialogue from corporate videos to feature films, I have learned that microphone selection makes the difference between professional results and footage that requires expensive post-production rescue.
This guide covers polar pattern selection, frequency response characteristics, positioning techniques, and common microphone types used in video production. We will examine shotgun microphones, lavalier systems, handheld dynamics, and boom operation to help you capture clear dialogue regardless of shooting conditions.
Understanding Polar Patterns for Video Work
Polar patterns determine which directions a microphone accepts sound from, making this the most critical specification for video applications. Shotgun microphones use a highly directional supercardioid or hypercardioid pattern that focuses on sound directly in front while rejecting noise from the sides and rear. The Sennheiser MKE 600 demonstrates this principle well, providing strong directional pickup that isolates dialogue even in moderately noisy environments.
Omnidirectional patterns capture sound equally from all directions, making them useful for lavalier applications where consistent pickup is needed regardless of head movement. The Countryman B3 lavalier exemplifies this approach, maintaining consistent vocal tone whether talent faces the camera or turns away. However, omnidirectional microphones also capture more room sound and background noise.
Cardioid patterns offer middle ground, accepting sound primarily from the front while providing some rejection of rear noise. Dynamic handheld microphones like the Shure SM58 use cardioid patterns effectively for interview situations where some ambient sound is acceptable but focus remains on the speaker.
Shotgun Microphones and Boom Operation
Shotgun microphones excel at capturing dialogue from a distance while minimising background noise pickup. The Rode NTG3 and Audio-Technica AT4073a represent professional-grade options that deliver broadcast-quality results when positioned correctly. These microphones work best when aimed directly at the sound source from above, typically positioned 12 to 18 inches away from talent.
Boom operation requires understanding how directional microphones behave at different distances and angles. Moving a shotgun microphone off-axis by even 30 degrees significantly reduces high-frequency response, making dialogue sound muffled or distant. The microphone should point at the mouth, not the top of the head, and boom operators must anticipate talent movement to maintain consistent positioning.
Indoor recording presents additional challenges because shotgun microphones can emphasise room reflections when used in acoustically untreated spaces. Hard walls, windows, and bare floors create echoes that directional microphones sometimes accentuate rather than reduce. In these situations, getting the microphone closer to talent or switching to a less directional option often produces better results.
The microphone should capture the performance, not fight against the shooting location.
Lavalier Systems for Hands-Free Recording
Lavalier microphones attach directly to talent, ensuring consistent audio levels regardless of movement or camera angles. Wireless systems like the Sony UWP-D series or Sennheiser EW 112P G4 provide professional results with reliable transmission and good sound quality. These systems work particularly well for documentary work, presentations, or any situation where boom operation is impractical.
Proper lavalier placement significantly affects sound quality. Position the microphone 6 to 8 inches below the mouth, typically clipped to a shirt or jacket lapel. Avoid placing lavaliers directly under the chin, which creates a muffled sound, or too far to one side, which results in inconsistent levels as talent turns their head. Hide the microphone element under clothing only when absolutely necessary, as fabric noise becomes problematic with movement.
Wireless transmission introduces potential issues including dropouts, interference, and battery management. Always monitor audio through headphones during recording and carry backup batteries. Scout locations beforehand to identify potential RF interference from WiFi networks, mobile phones, or other wireless devices operating in the same frequency bands.
Frequency Response and Voice Reproduction
Human speech occupies frequencies primarily between 100 Hz and 8 kHz, with intelligibility concentrated in the 1 kHz to 4 kHz range. Microphones with presence peaks in this region, such as the Electro-Voice RE20 or Shure SM7B, enhance speech clarity and cut through background noise. However, excessive presence boost can make dialogue sound harsh or sibilant, particularly with female voices or when processing is applied later.
Low-frequency response matters more than many video producers realise. Microphones with poor bass response make male voices sound thin and unnatural, while excessive low-frequency sensitivity captures unwanted rumble from air conditioning, traffic, or camera motors. Most shotgun microphones include low-cut filters that can be engaged to reduce these issues, typically rolling off frequencies below 80 Hz.
High-frequency response affects perceived audio quality and post-production flexibility. Microphones that maintain smooth response up to 15 kHz or beyond, like the Schoeps CMC6/MK41 combination, capture natural-sounding dialogue that requires minimal equalisation. Budget microphones often exhibit irregular high-frequency response that creates harsh or dull-sounding recordings requiring extensive correction.
Handling Camera and Environmental Noise
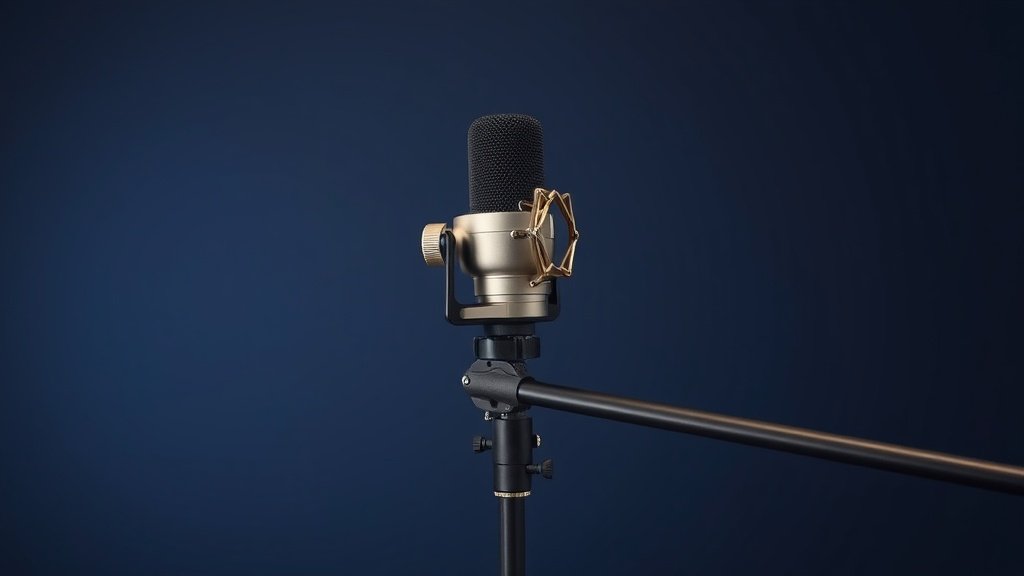
Camera motors, cooling fans, and autofocus mechanisms generate noise that microphones positioned near the camera will capture. This problem becomes particularly noticeable with sensitive condenser microphones mounted directly on camera hot shoes. Using shock mounts helps isolate microphones from camera vibration, while positioning microphones away from the camera body reduces mechanical noise pickup.
Wind noise poses challenges for outdoor recording, requiring windscreens or dead cat covers depending on conditions. Light breezes may only require foam windscreens, while stronger winds demand furry covers like those made by Rycote or Rode. Even indoor recording can benefit from windscreens, as air conditioning vents or movement-generated air currents can cause low-frequency rumble that ruins otherwise good recordings.
Electrical interference from camera circuits, monitors, or lighting equipment can introduce buzzing or humming into audio signals. Balanced XLR connections provide better noise rejection than unbalanced inputs, making professional camcorders or external recorders preferable to DSLR internal preamps for critical work. Keep audio cables away from power cables when possible, and use the shortest practical cable lengths to minimise interference pickup.
Mounting shotgun microphones directly on camera hot shoes without shock isolation. Camera vibration and motor noise transfer directly through rigid mounts into sensitive microphone capsules. Use proper shock mounts or boom poles to isolate microphones from camera-generated noise and vibration.
Positioning lavalier microphones too close to the mouth or directly under the chin. Close placement creates breath noise and proximity effect that makes voices sound boomy and unnatural. Position lavaliers 6 to 8 inches below the mouth on the chest area for natural sound reproduction and reduced handling noise.
Ignoring room acoustics when selecting microphone types and placement. Hard surfaces and untreated rooms cause reflections that directional microphones may emphasise rather than reject. Move closer to talent or choose less directional options in acoustically problematic spaces rather than fighting room reflections with inappropriate microphone selection.
Conclusion
Successful microphone selection for video production requires matching polar patterns to shooting conditions, understanding frequency response characteristics, and implementing proper positioning techniques. Focus on capturing clean dialogue at the source rather than depending on post-production correction, and always monitor audio quality throughout the recording process to ensure professional results.

FREE DOWNLOAD
Stop Guessing. Start Buying Smart.
The specs that actually matter, demystified.
Headphones, microphones, the spec sheet jargon you can ignore — all in one quick-reference PDF. Free, instant, no fluff.
Send Me the CheatsheetYou'll also receive occasional new guide notifications. Unsubscribe anytime. No spam, ever.