Most interview recordings fail because engineers treat multiple voices like a single performer scaled up, when the acoustic challenges are completely different.
Recording interviews with two or more people presents unique challenges that single-voice recording never reveals. The proximity effect changes when multiple sources compete for the same acoustic space. Polar patterns that work perfectly for solo recording can create phase issues and unwanted bleed that destroy the clarity you need for intelligible dialogue.
This guide covers the microphone selection, placement techniques, and setup strategies that deliver professional interview recordings. We will examine cardioid versus omnidirectional patterns for different scenarios, discuss optimal spacing between participants, and address the monitoring setup required to catch problems before they ruin your session.
Choosing the Right Microphone Pattern
Cardioid microphones form the foundation of most professional interview setups because they reject sound from behind while capturing clear audio from the front. The Shure SM7B remains the broadcast standard for good reason – its cardioid pattern provides excellent off-axis rejection while maintaining natural vocal tone even when speakers move slightly during conversation. The Audio-Technica BP40 offers similar performance characteristics with a slightly brighter top end that works well for voices that need more presence.
Dynamic cardioid microphones handle the close-proximity challenges of interview recording better than condensers in most scenarios. The Electro-Voice RE20 and Shure SM58 both provide consistent pickup patterns that remain stable when participants lean in or gesture during animated discussion. Condenser microphones like the Audio-Technica AT2020 can work in controlled environments, but their sensitivity often picks up room reflections and handling noise that creates problems during post-production.
Omnidirectional patterns work in specific circumstances where participants sit very close together or when you want to capture a more natural conversational feel. The Shure Beta 181O provides omnidirectional pickup that captures ambient room tone while maintaining good voice quality, but requires careful acoustic treatment to prevent unwanted reflections from reaching the microphone.
Optimal Microphone Placement
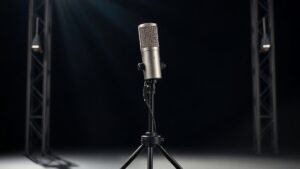
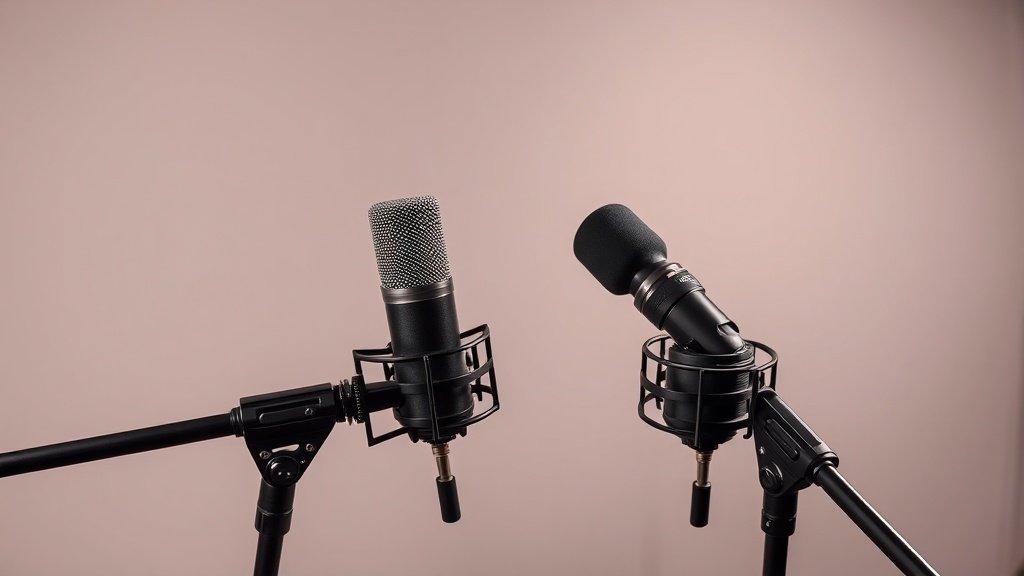
Position each microphone approximately six to eight inches from the speaker with the capsule aimed at the corner of their mouth rather than directly at their lips. This placement captures clear vocal tone while reducing plosive sounds that can overload the microphone during energetic speech. Mount microphones on boom arms or desk stands that allow adjustment without creating handling noise when participants move naturally during conversation.
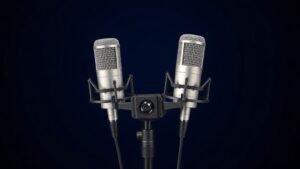
Maintain at least eighteen inches between microphones to minimise phase cancellation when voices overlap. The three-to-one rule applies here – if one microphone sits six inches from its intended source, the next closest microphone should be at least eighteen inches away from that same source. This spacing prevents the hollow, filtered sound that occurs when the same voice reaches multiple microphones at slightly different times.
Angle microphones away from each other when possible to take advantage of their polar pattern rejection. Two cardioid microphones positioned at ninety degrees to each other will provide better separation than two microphones pointing in parallel directions. The Rode PodMic handles this type of setup particularly well because its tight cardioid pattern rejects off-axis sound effectively even in untreated rooms.
The proximity effect changes when multiple sources compete for the same acoustic space.
Managing Multiple Audio Channels
Record each participant on a separate channel to maintain control during mixing and editing. A two-channel audio interface like the Focusrite Scarlett 2i2 provides the minimum inputs needed for a two-person interview, while the PreSonus AudioBox USB 96 offers similar functionality with slightly different preamp characteristics. Both interfaces provide phantom power if you choose to use condenser microphones instead of dynamics.
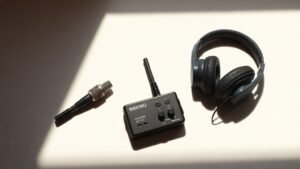
Set input levels conservatively to avoid clipping during loud moments or laughter. Peak levels should hit around -12dB during normal conversation, leaving headroom for unexpected volume spikes. The Zoom PodTrak P4 was designed specifically for podcast and interview recording, providing hardware limiters and automatic level adjustment that prevents distortion while maintaining natural vocal dynamics.
Monitor both channels simultaneously using closed-back headphones to catch phase issues, excessive bleed, or level imbalances during recording. The Sony MDR-7506 headphones provide accurate monitoring that reveals problems clearly without flattering the sound. Set up a headphone distribution system if participants need to monitor their own audio – the Behringer HA400 provides four headphone outputs from a single source.
Acoustic Environment Considerations
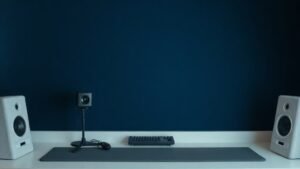
Control reflections in your recording space because multiple microphones will capture room problems more obviously than single-mic setups. Hard surfaces behind participants create slap-back echoes that muddy the dialogue and make voices sound distant. Position participants with their backs to soft furnishings, bookshelves, or acoustic treatment rather than bare walls or windows.
Carpet, curtains, and upholstered furniture provide enough acoustic control for most interview scenarios. Purpose-built acoustic panels like those from Primacoustic offer more consistent results, but household items can work effectively if positioned strategically. The goal is to reduce reflections reaching the microphones rather than creating a completely dead acoustic space.
HVAC noise, computer fans, and fluorescent lights become more problematic with multiple open microphones capturing ambient sound. Turn off unnecessary equipment and choose recording times when external noise is minimal. The cumulative effect of low-level noise across multiple channels can make dialogue difficult to understand even when each individual microphone sounds acceptable in isolation.
Real-Time Monitoring and Adjustment
Use a mixer or audio interface with real-time monitoring to balance levels and catch problems during recording rather than discovering them later. The Zoom LiveTrak L-8 provides mixing capabilities specifically designed for podcast and interview recording, with built-in processing and the ability to create separate monitor mixes for participants and the engineer.
Watch for participants who drift away from their microphones during conversation or lean back in their chairs as they become comfortable. Voice levels will change dramatically with small position shifts, and the proximity effect will alter the tonal balance as distance varies. Gentle reminders about microphone position work better than trying to fix these issues with post-production processing.
Record a backup safety track if your equipment allows it. Many modern interfaces and recorders can capture a lower-level safety channel automatically, providing insurance against unexpected peaks or technical problems. The Sound Devices MixPre-3 II offers this feature along with 32-bit float recording that makes clipping nearly impossible even with suboptimal gain staging.
Placing microphones too close together creates phase cancellation. When the same voice reaches multiple microphones at different times, the delayed signals combine destructively and create a hollow, filtered sound that cannot be fixed in post-production.
Using omnidirectional microphones in untreated rooms captures too much ambient noise. Omnidirectional patterns pick up sound equally from all directions, including room reflections and background noise that make dialogue difficult to understand and edit.
Setting levels too high to compensate for quiet speakers results in clipping during loud moments. Conservative level setting with proper microphone placement delivers better results than trying to boost weak signals that will distort when participants laugh or become animated during conversation.
Conclusion
Professional interview recording depends on microphone selection that matches your acoustic environment and placement that minimises bleed between channels. Cardioid dynamics positioned properly with adequate separation provide the foundation, while careful level setting and real-time monitoring prevent technical problems that destroy otherwise good content.

FREE DOWNLOAD
Stop Guessing. Start Buying Smart.
The specs that actually matter, demystified.
Headphones, microphones, the spec sheet jargon you can ignore — all in one quick-reference PDF. Free, instant, no fluff.
Send Me the CheatsheetYou'll also receive occasional new guide notifications. Unsubscribe anytime. No spam, ever.