The difference between professional and amateur recordings often lies not in what you capture, but in what you prevent from being captured in the first place.
Background noise destroys more promising recordings than any other single factor. After years of obsessively buying, using and comparing audio gear, I have learned that noise reduction starts before you press record. The techniques that work consistently focus on source control rather than post-production fixes.
This guide covers the practical methods that eliminate background noise during capture. We will examine microphone selection and positioning, acoustic treatment approaches, gain staging principles, and environmental control strategies that deliver clean recordings regardless of your recording space.
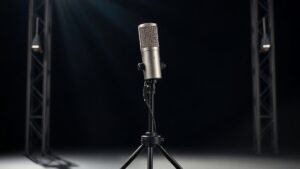
Choose the Right Microphone and Polar Pattern
Microphone selection determines how much unwanted sound reaches your recording. Dynamic microphones like the Shure SM57 or Electro-Voice RE20 naturally reject background noise through their lower sensitivity and robust construction. These mics require sources to be close, which inherently reduces the pickup of distant room noise and air conditioning hum.
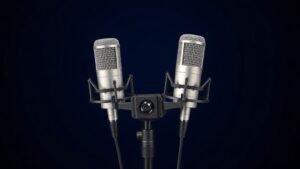
Condenser microphones offer superior detail but capture everything in their vicinity. The Audio-Technica AT4033 or Rode NT1 will reveal acoustic flaws in untreated rooms that dynamic mics would ignore. When using condensers, polar pattern selection becomes critical. Cardioid patterns reject sound from behind the capsule, while omnidirectional patterns capture the entire acoustic environment.
Hypercardioid and supercardioid patterns, found on mics like the Beyerdynamic M88, provide even tighter pickup patterns but introduce rear lobes that can capture reflections from walls behind the microphone. Understanding these characteristics allows you to position sources and mics strategically to minimise unwanted pickup.
Master Microphone Placement and Distance
Proximity effect works in your favour when controlling background noise. Moving a source closer to the microphone increases the direct signal level relative to ambient noise. This principle applies whether recording vocals, instruments, or dialogue. A vocalist six inches from a Shure SM58 will produce a dramatically cleaner recording than the same performance at eighteen inches.
The inverse square law governs this relationship mathematically. Doubling the distance from source to microphone reduces the direct signal level by 6dB, while background noise levels remain constant. This means room noise becomes proportionally louder in your recording as microphone distance increases.
Off-axis rejection becomes equally important. Position microphones so their null points face the loudest noise sources. A cardioid microphone positioned with its rear capsule facing a noisy computer fan or air conditioning unit will significantly reduce that noise pickup compared to perpendicular positioning.
The cleanest recordings come from controlling noise at the source rather than fighting it during mixdown.
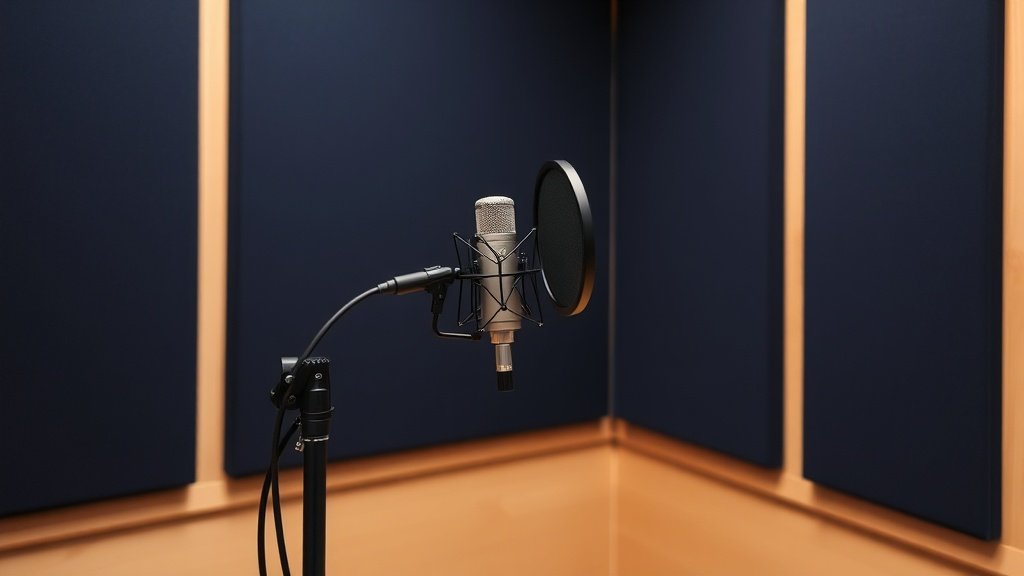
Implement Effective Acoustic Treatment
Acoustic treatment addresses both direct noise transmission and room reflections that muddy recordings. Dense materials like Primacoustic Broadway panels or Auralex Studiofoam reduce high-frequency reflections that cause comb filtering and perceived noise. These treatments work by absorbing sound energy rather than reflecting it back into the microphone.
Bass trapping becomes essential in smaller rooms where low-frequency buildup creates uneven frequency response. Products like the Primacoustic MaxTrap or homemade solutions using rigid fibreglass in room corners control problematic bass frequencies that would otherwise require extensive post-production correction.
Portable solutions work effectively for temporary setups. Reflection filters like the Aston Halo or SE Electronics Reflexion Filter X create localised acoustic control around the microphone. While not perfect substitutes for proper room treatment, these tools significantly improve recordings in challenging acoustic environments.
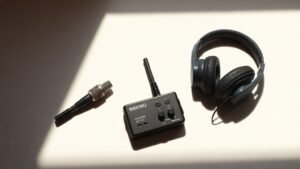
Optimise Gain Staging and Signal Chain
Proper gain staging ensures you capture the maximum signal level without introducing noise from your recording chain. Audio interfaces like the Focusrite Clarett 8Pre or Universal Audio Apollo Twin offer different noise floors and headroom characteristics. Higher-end preamps typically provide cleaner amplification at higher gain settings.
The gain staging process requires balancing input gain, microphone sensitivity, and source level. Setting input gain too low forces you to amplify both signal and noise floor during post-production. Setting gain too high introduces distortion and prevents dynamic range capture. Target input levels that peak between -12dB and -6dB for optimal signal-to-noise ratio.
Impedance matching affects noise performance significantly. Low-output dynamic microphones perform better with preamps that provide higher gain ranges, like those found in the Cloudlifter CL-1 inline preamp. This device boosts microphone signals before they reach your interface preamps, improving overall signal-to-noise ratio.
Control Environmental Noise Sources
Environmental noise control often provides the most dramatic improvements with the least equipment investment. Computer fans, hard drives, and air conditioning systems generate constant background noise that accumulates across multiple microphone channels. Moving recording equipment to a separate room or using longer cable runs eliminates much of this mechanical noise.
Electrical interference from power supplies, fluorescent lights, and wireless devices creates buzzes, hums, and digital artifacts in recordings. Ground loop isolators like the Ebtech Hum X can eliminate power-related hums, while proper cable management keeps signal cables away from power cables and wireless transmitters.
Timing recordings around external noise sources provides another practical approach. Traffic patterns, construction schedules, and HVAC system cycles all follow predictable patterns. Recording during quieter periods often proves more effective than fighting constant noise with acoustic treatment alone.
Setting recording levels too low to avoid clipping forces noise amplification later. Digital systems provide ample headroom, so aim for peaks between -12dB and -6dB rather than barely registering signal levels.
Relying solely on post-production noise reduction creates artifacts and degrades source quality. Software tools work best on minimal noise rather than heavy contamination, so prioritise capture techniques over processing fixes.
Ignoring microphone polar patterns when dealing with noise sources wastes the most effective tool for rejection. Position mics strategically so their null points face noise sources rather than relying purely on distance or treatment.
Conclusion
Clean recordings result from systematic noise control during capture rather than post-production correction. Microphone selection, strategic positioning, basic acoustic treatment, proper gain staging, and environmental awareness provide the foundation for professional results. Master these fundamentals and your recordings will immediately sound more polished and professional.

FREE DOWNLOAD
Stop Guessing. Start Buying Smart.
The specs that actually matter, demystified.
Headphones, microphones, the spec sheet jargon you can ignore — all in one quick-reference PDF. Free, instant, no fluff.
Send Me the CheatsheetYou'll also receive occasional new guide notifications. Unsubscribe anytime. No spam, ever.