Most podcast failures stem not from poor content but from audio quality so distracting that listeners cannot focus on the message being delivered.
After fifteen years mixing everything from studio albums to live broadcasts, I have watched countless creators abandon promising podcast projects because they never understood the fundamentals of audio capture. The technical barrier feels insurmountable when you encounter conflicting advice about phantom power, polar patterns, and sample rates without context for what actually matters.
This guide covers the essential equipment chain for podcast recording, from microphone selection through monitoring setup, with specific product recommendations that deliver professional results without requiring an audio engineering degree to operate effectively.
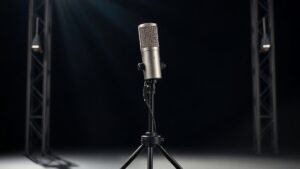
Choosing the Right Microphone
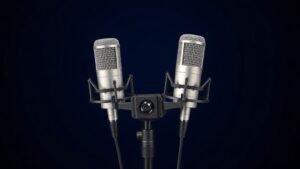
Dynamic microphones handle untreated rooms and background noise better than condensers, making them the practical choice for most podcast setups. The Shure SM7B remains the broadcast standard because its cardioid pattern rejects room reflections whilst maintaining clear vocal presence. However, it requires significant gain from your interface, making it unsuitable for budget preamps that add noise when pushed hard.
The Audio-Technica ATR2100x-USB offers similar rejection characteristics with higher output sensitivity, reducing the gain requirements that create problems with entry-level interfaces. Condenser microphones like the Rode PodMic deliver crisp detail but expose every room imperfection and require careful placement to avoid proximity effect buildup that makes voices sound boomy and unnatural.
Polar pattern selection determines what your microphone captures beyond your voice. Cardioid patterns focus on sound from directly in front whilst rejecting audio from the sides and rear. Omnidirectional patterns capture room ambience that works for natural conversation but requires acoustic treatment to avoid echo and reverberation that destroys intelligibility in post-production.
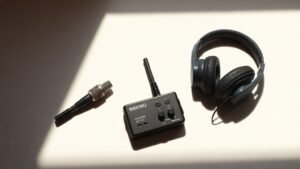
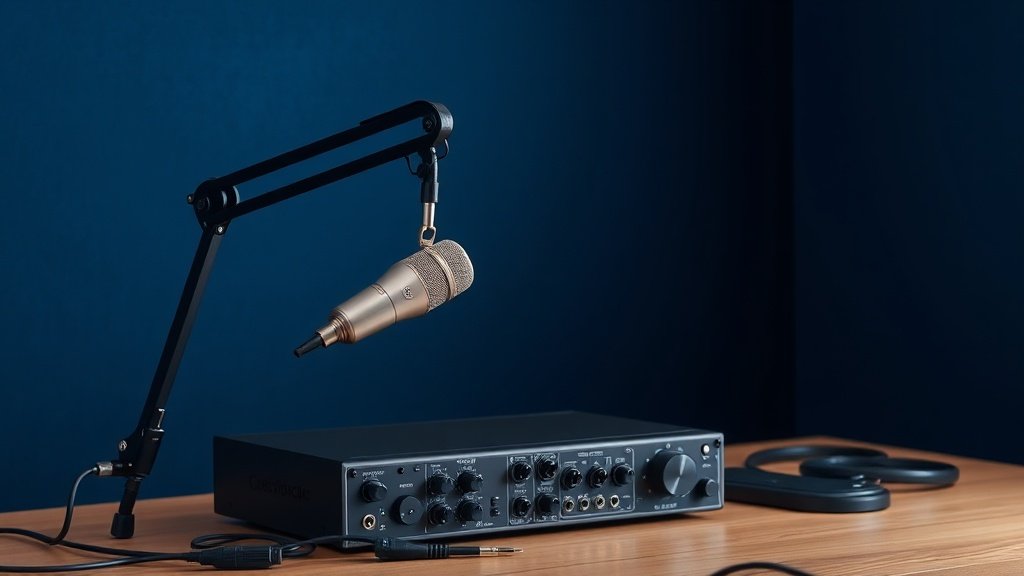
Audio Interface Requirements
Your audio interface converts analog microphone signals into digital audio your computer can process and record. The Focusrite Scarlett Solo provides clean preamps with sufficient gain for most dynamic microphones, whilst the Zoom PodTrak P4 adds dedicated podcast features like sound pads and mix-minus outputs for remote guest recording.
Phantom power becomes essential if you choose condenser microphones that require external voltage to operate their internal electronics. The PreSonus AudioBox USB 96 delivers reliable phantom power alongside low-noise preamps that work well with both dynamic and condenser microphones without introducing the hiss and distortion common in cheaper interfaces.
Sample rate and bit depth settings affect file size more than audible quality for spoken word content. Recording at 48kHz and 24-bit provides professional flexibility for editing whilst maintaining compatibility with video projects, but 44.1kHz and 16-bit proves perfectly adequate for audio-only podcasts distributed through streaming platforms that compress the final output regardless of source quality.
The microphone captures your voice, but the interface determines whether that capture sounds professional or amateurish when played through listeners speakers.
Essential Accessories and Cables
Boom arms position microphones at the optimal distance and angle whilst reducing handling noise transmitted through desk vibrations. The Rode PSA1 provides smooth adjustment and sturdy mounting that keeps microphones stable during animated conversation. Pop filters like the Aokeo Professional eliminate plosive consonants that create distracting bursts of low-frequency energy, whilst shock mounts isolate microphones from physical vibrations that appear as rumble in recordings.
XLR cables carry balanced audio signals that resist electromagnetic interference from computers and mobile phones. Mogami 2534 cables deliver professional reliability, but budget options like the LyxPro series work perfectly for home studio distances under three metres. Avoid unbalanced connections and USB microphones for serious podcast production, as they offer fewer upgrade paths and limited flexibility for multi-person recording setups.
Closed-back headphones allow accurate monitoring without creating feedback loops when microphones pick up audio leaking from open-back designs. The Sony MDR-7506 provides flat response that reveals problems in your recording chain, whilst the Audio-Technica ATH-M50x offers slightly enhanced bass that sounds flattering but may hide low-frequency issues that become apparent on different playback systems.
Recording Software and Setup
Audacity provides free recording and editing capabilities sufficient for most podcast production, whilst Reaper offers professional features at reasonable cost for creators who need advanced routing and plugin support. Both applications handle multi-track recording when you need separate channels for multiple participants or music beds that require independent level control during mixing.
Input level setting prevents distortion that cannot be repaired in post-production. Aim for peaks between negative twelve and negative six decibels, leaving headroom for unexpected loud moments whilst maintaining strong signal levels that stay well above the noise floor. Most interfaces include direct monitoring that allows real-time listening without computer latency that creates distracting echo effects during recording.
Recording separate tracks for each participant simplifies editing and allows independent processing that compensates for different voice characteristics and microphone positions. This approach requires additional interface inputs but provides enormous flexibility when one person speaks quietly whilst another projects naturally, creating level mismatches that become difficult to balance when recorded to a single stereo track.
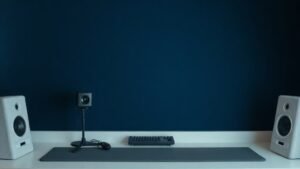
Room Treatment and Positioning
Hard surfaces create reflections that reach your microphone milliseconds after direct sound, causing comb filtering and echo that makes voices sound hollow and distant. Heavy blankets, moving quilts, or professional acoustic panels on walls behind and beside your recording position absorb these reflections without requiring permanent room modifications that affect living spaces.
Microphone distance affects both tone and room pickup, with closer positioning providing more intimate sound but increased risk of plosives and breathing noise. Six to twelve inches proves optimal for most voices and microphone combinations, close enough for strong signal levels but far enough to avoid proximity effect that emphasises bass frequencies unnaturally. Recording in smaller spaces like closets filled with clothing often produces better results than large empty rooms that generate longer reverb times.
Setting recording levels too high creates distortion that cannot be fixed in post-production. Digital distortion sounds harsh and unnatural compared to analog saturation. Leave at least six decibels of headroom below zero to accommodate unexpected loud moments during natural conversation.
Using built-in laptop microphones produces recordings that sound amateurish regardless of content quality. Internal microphones pick up fan noise, keyboard clicks, and room reflections whilst providing poor rejection of background sounds. Invest in a dedicated microphone as the first upgrade priority.
Placing microphones too far from speakers forces higher gain settings that amplify room noise and reflections. Distant microphone placement creates weak signal-to-noise ratios that require aggressive processing to fix. Position microphones within twelve inches of your mouth for optimal results in untreated rooms.
Conclusion
Successful podcast equipment setup prioritises signal chain fundamentals over expensive gear that compensates for poor technique. A modest dynamic microphone, clean interface, and basic room treatment produce professional results when implemented correctly, whilst expensive equipment cannot rescue recordings made with improper gain staging or microphone placement in reflective environments.

FREE DOWNLOAD
Stop Guessing. Start Buying Smart.
The specs that actually matter, demystified.
Headphones, microphones, the spec sheet jargon you can ignore — all in one quick-reference PDF. Free, instant, no fluff.
Send Me the CheatsheetYou'll also receive occasional new guide notifications. Unsubscribe anytime. No spam, ever.