A grand piano is one of the most acoustically complex instruments you will ever point a microphone at — get the placement wrong and all that richness collapses into a dull, boxy smear.
I have spent more sessions than I care to count standing inside a grand piano lid with a torch, repositioning microphones a centimetre at a time, listening back through headphones, repositioning again. Piano recording rewards patience and punishes guesswork more than almost any other source. The instrument radiates sound in multiple directions simultaneously, the frequency range spans from deep sub-bass fundamentals to shimmering upper harmonics, and the room it sits in becomes part of the sound whether you want it to or not.
This guide covers the main microphone configurations used to capture acoustic piano — from simple single-mic setups that work well for demos and folk recordings, through to the stereo and multi-mic approaches used in commercial studio work. I will explain the reasoning behind each placement so you can adapt these principles to your own piano, room, and microphone collection rather than blindly copying a diagram that may have been drawn for an entirely different instrument.
Understanding What the Piano Actually Does Acoustically
Before you position a single microphone, it is worth understanding that a piano does not emit sound from one place. The strings themselves vibrate, but the soundboard — the large flat panel underneath the strings — is responsible for projecting most of the acoustic energy into the room. On a grand piano, that soundboard faces downward. The open lid deflects sound upward and outward. On an upright piano, the soundboard faces the wall behind the instrument, which is one reason uprights are genuinely harder to record well.
The low frequencies of the piano are largely omnidirectional and build up quickly in small rooms. The high frequencies are more directional and heavily influenced by the angle of the open lid. This means a microphone positioned directly over the strings captures a different tonal character from one positioned further back and higher up, even if the distance is similar. Neither position is automatically correct — they serve different musical purposes.
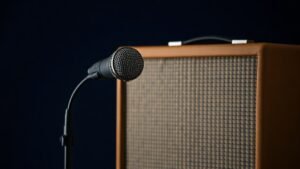
The hammer attack, the body of each note, and the natural decay all behave differently depending on where your microphone is in the space. Placing a microphone close to the hammers captures an aggressive, percussive quality with plenty of transient detail — useful for driving pop piano tracks. Moving the microphone back toward the middle of the string length smooths the attack and emphasises the sustain. Moving it further back still, toward the bass strings, shifts the tonal weight downward and adds warmth at the expense of clarity in the upper register.
The Single Microphone Approach
A single microphone setup is not a compromise for people who do not own enough gear. Used deliberately, it produces a coherent, focused piano sound that sits cleanly in a mix without the phase complications that multi-mic setups introduce. For a solo piano recording where the instrument needs to fill the stereo field on its own, a single mic is rarely enough. But for a piano that is one element among many in an arrangement, it can be exactly right.
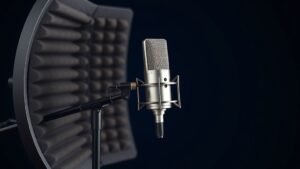
For this approach I prefer a large diaphragm condenser with a cardioid polar pattern. The Neumann U 87 Ai is the classic choice and for good reason — it handles the wide dynamic range of a piano without flinching and its frequency response flatters both the low-mid body and the upper harmonics. If that is outside your budget, the Audio-Technica AT4040 or the Rode NT1 both perform admirably and are considerably more accessible. The key is using a microphone with low self-noise, because piano has a lot of quiet moments and you do not want the noise floor creeping in during a soft pianissimo phrase.
Position the single microphone roughly 20 to 30 centimetres above the open lid of a grand, aimed toward the mid-register strings and angled slightly toward the soundboard. Start with the lid on the full stick, not the short stick — the short stick chokes the sound and you can always bring the lid down in post-processing by pulling back on the mic, but you cannot add openness to a recording that was closed off at the source. Listen carefully in headphones as you adjust. Small movements make audible differences.
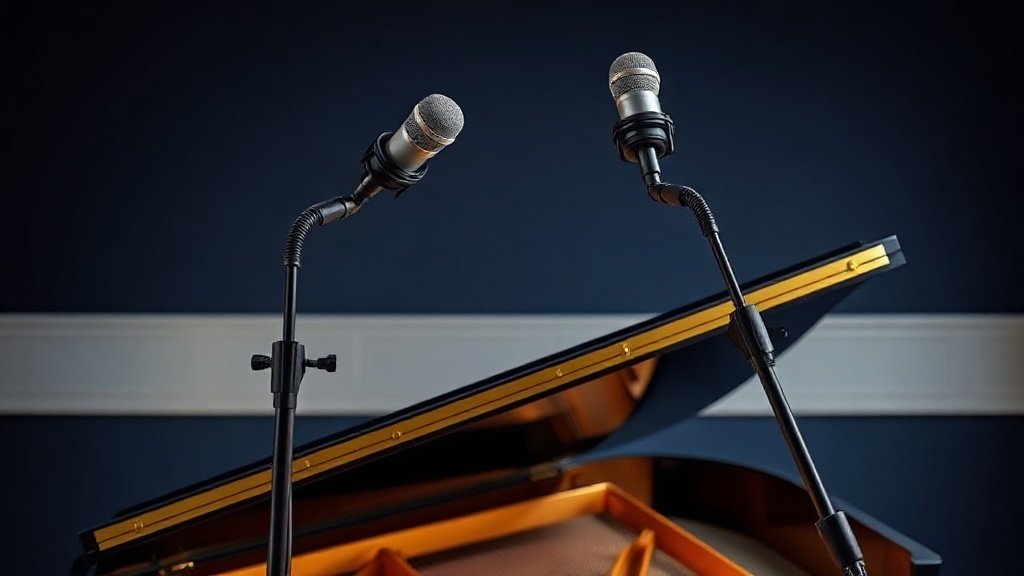
Stereo Configurations Over a Grand Piano
Stereo recording gives the piano its natural width and spatial depth, and for most serious recording work it is the starting point rather than an upgrade. There are three configurations I reach for depending on what the recording needs: spaced pair, ORTF, and XY coincident.
A spaced pair — two microphones separated by roughly 50 to 100 centimetres, positioned above the open lid — gives a wide, airy image. One microphone sits over the treble strings toward the keyboard end, the other over the bass strings toward the tail. The result is a natural left-to-right spread that mirrors how a listener would perceive a pianist sitting at the instrument. The limitation is phase relationship: because the two microphones are physically separated, they receive sound at slightly different times, and this can cause comb filtering artefacts when the recording is summed to mono. For music that will always be heard in stereo, this is rarely a problem. For anything that might be broadcast in mono or played through a mono PA, you need to check the mono compatibility carefully.
ORTF — two cardioid microphones angled at 110 degrees from each other with capsules spaced 17 centimetres apart — strikes a balance between the width of a spaced pair and the mono compatibility of a coincident configuration. I use matched pairs for stereo work wherever possible. The Rode NT5 matched pair is a small diaphragm condenser option that works extremely well for piano, capturing transients with precision and imaging cleanly. The Schoeps CMC 6 with MK 4 capsules is a step up in refinement if the budget allows, and the Neumann KM 184 matched pair sits between the two in terms of cost and performance.
XY coincident — two cardioid microphones with capsules as close together as possible, angled at 90 degrees — is the most mono-compatible stereo approach. The image is narrower than ORTF but the phase coherence is excellent. For a piano recording that is going to be heavily processed or layered with other instruments, XY is often the safest choice because it translates predictably across different playback systems.
The room is not just the space around the piano — it is an active participant in the recording, and pretending otherwise produces recordings that sound like they were made inside a box.
Adding a Room Microphone
A pair of close microphones over the strings gives you detail and control. A room microphone gives you air, depth, and the sense that the piano exists in a physical space rather than floating in a void. The combination of the two — blended carefully — is what separates a technically correct piano recording from one that actually sounds like a real instrument in a real room.
For a room microphone I often use a large diaphragm condenser in omni pattern, placed three to four metres back from the piano at roughly head height. The omni pattern captures the full room evenly without the proximity effect or the off-axis colouration you get with cardioid at distance. The AKG C 414 XLII switched to omni is a reliable choice here — it handles the dynamic peaks of a fortissimo chord without distorting and the low-frequency extension adds a sense of scale to the recording.
The blend between close and room microphones is where the character of the recording is shaped. A higher proportion of room signal produces a more ambient, classical feel. More close signal produces a tighter, more present sound suited to pop, jazz, or contemporary commercial work. I rarely use more than 20 to 30 percent room signal in a mix unless the room itself is genuinely beautiful, which in most project studios it is not. The discipline is to record the room mic anyway and decide later — you cannot add it back in post if you did not capture it.
Recording an Upright Piano
An upright piano presents a genuinely different set of challenges. The soundboard faces the wall, which means the most resonant, full-bodied version of the sound is reflecting off a surface that is usually just a few centimetres away. Opening the top lid and placing a microphone above the strings is the most common approach for uprights, and it works reasonably well for close, present recordings, though it emphasises the hammer attack more than the body of the tone.
An alternative that I find more satisfying for uprights is to move the instrument away from the wall — at least 60 centimetres if the room allows — and position a microphone behind the piano at soundboard level. This captures the instrument from the same direction the soundboard is projecting, which gives a warmer, more resonant sound with less hammer clatter. It is not always practical in a small room, but when it is possible it produces results that are genuinely closer to a grand piano character.
A third approach is to remove the lower panel of the upright and place a microphone pointing up at the soundboard from below. This captures the lower frequencies directly and, combined with a microphone above, can produce a surprisingly full stereo image from an instrument that is often dismissed as inferior to a grand. The positioning requires experimentation because the proximity to the soundboard creates significant low-frequency buildup — high-pass filtering will almost certainly be necessary in the mix.
Gain Staging and Interface Selection
A piano played at full dynamic range can swing from near silence to thunderous peaks within a single phrase. Getting the gain staging right matters enormously. I always set my input gain conservatively for piano — lower than feels comfortable — because a distorted peak at the top of a dynamic swell is not recoverable in editing, whereas a recording that is a few decibels quieter than ideal can be brought up cleanly in the mix. Aim for peaks hitting around minus 12 dBFS on your interface meters rather than the minus 3 or minus 6 that you might use for a more controlled source.
The quality of the microphone preamplifier has a meaningful impact on how the piano translates into the recording. A clean, transparent preamp preserves the natural character of the microphone and the instrument. The Universal Audio Apollo x4 and the Focusrite Clarett Plus 4Pre both offer preamp quality well above what the price might suggest, and either would serve as a solid foundation for serious piano recording. If you are working with a higher-end microphone such as the Neumann U 87 Ai, pairing it with a substandard preamp limits the result — the preamp is not a neutral component, and treating it as one is a mistake I see regularly in project studio setups.
Placing microphones too close to the hammers produces a percussive, nasal recording that does not survive the mix. The hammer zone sounds dramatic in isolation but it lacks the body and sustain that make piano recordings feel full — move the microphones back toward the mid-string area and listen for the difference in warmth.
Using a cardioid microphone at room distance without checking mono compatibility causes phase problems that only reveal themselves on playback. Always sum your stereo room microphone to mono before committing to a position, particularly if the recording is destined for broadcast or streaming platforms that may apply mono downmixing.
Setting input gain too hot to compensate for a quiet room results in distorted peaks on loud passages. Piano has an unusually wide dynamic range compared to most studio sources, so set conservative gain levels from the start and ride the fader in the mix rather than trying to capture the full range at the preamp stage.
Conclusion
Recording a piano well comes down to understanding where the instrument projects sound, choosing a polar pattern and placement that serves the music rather than the convenience of the engineer, and giving the recording enough dynamic headroom to survive the full range of the performance. Start simple, listen critically through accurate monitoring or a reliable pair of headphones, and resist the urge to add more microphones before you have fully explored what one or two well-placed ones can do.

FREE DOWNLOAD
Stop Guessing. Start Buying Smart.
The specs that actually matter, demystified.
Headphones, microphones, the spec sheet jargon you can ignore — all in one quick-reference PDF. Free, instant, no fluff.
Send Me the CheatsheetYou'll also receive occasional new guide notifications. Unsubscribe anytime. No spam, ever.