Stereo ambience is one of the most underestimated elements in audio production — get it right and it transforms a recording from flat and lifeless into something that feels genuinely inhabited.
Field recording and location audio work have taught me that capturing the sense of a space is rarely about volume or microphone quality alone. The relationship between a stereo image and the acoustic environment it represents is a fragile thing. Choose the wrong technique for a given space, and you end up with a recording that is either unconvincingly narrow, uncomfortably phasey, or simply does not translate when played back on speakers or headphones. The decisions you make before you press record are the ones that matter most.
This guide covers the core stereo microphone techniques suited to ambience recording, the differences between outdoor and indoor approaches, how wind and room acoustics change your decisions, and the gear that performs reliably in real-world conditions. Whether you are capturing the ambience of a forest at dawn, a busy market square, a cathedral nave, or a small living room, the principles here will give you a workable framework to start from and adapt.
Understanding Stereo Microphone Techniques for Ambience
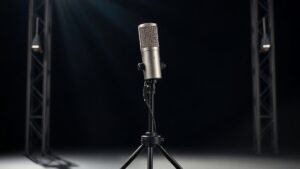
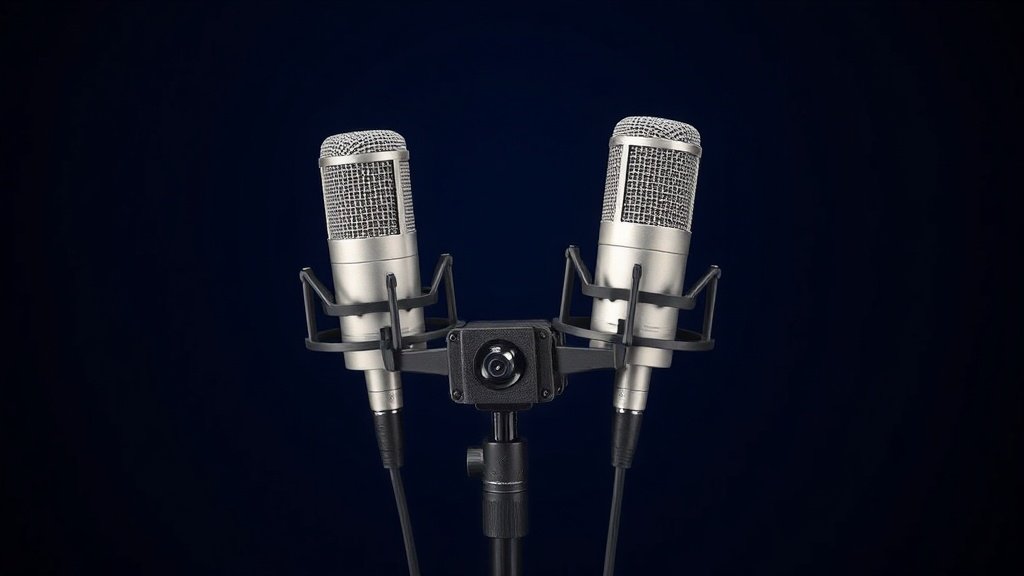
The three techniques you will encounter most often in ambience recording are XY, ORTF, and spaced omnis. XY uses two cardioid capsules angled at 90 degrees and physically coincident — both capsules occupy essentially the same point in space. This gives you a stable, mono-compatible image with no phase issues, which is precisely why it suits ambience recordings that need to sit cleanly beneath dialogue or music in a mix. The Rode NT5 matched pair is a reliable, affordable option for XY work, and the capsules lock into a standard stereo bar without fuss.
ORTF places two cardioid capsules 17 centimetres apart and angled outward at 110 degrees, mimicking the rough geometry of human ears. The result is a wider, more natural-feeling stereo image than XY, with a small amount of interaural time difference that adds spatial depth. It is my preferred technique for outdoor ambience because it captures a convincing sense of openness without the comb filtering risks of widely spaced microphones. The Sennheiser MKH 50 matched pair is the benchmark here, though the Schoeps MK 4 in ORTF configuration delivers comparable results at a similar investment level.
Spaced omnis — two omnidirectional microphones placed between 50 centimetres and several metres apart — are the technique of choice when you want to capture the full low-frequency content of a space and a genuinely immersive width. Omnidirectional capsules have no proximity effect and a flatter low-end response than cardioids, which means room tone and outdoor ambience sound fuller and more accurate. The trade-off is phase coherence: the wider the spacing, the more problematic mono compatibility becomes. For ambience that will only ever be heard in stereo, this is often an acceptable compromise.
Outdoor Ambience: Wind, Distance, and Directionality
Outdoors, wind is the enemy of clean ambience recording. Even light breezes create low-frequency rumble that a cardioid microphone with a standard foam windshield cannot adequately reject. For any serious outdoor work, a blimp-style windshield — a rigid outer cage with a suspended inner cradle and a fur slip-over cover — is not optional equipment. The Rycote Cyclone is the most effective solution I have used for this; it handles gusts that would completely ruin a recording using standard foam protection. For smaller microphone formats, the Rode Blimp and the Rycote Softie range offer workable protection at lower cost.
Distance from the sound source changes the character of outdoor ambience significantly. Recording near a busy road captures a hard, directional quality even in stereo. Move 200 metres back and the same traffic becomes a diffuse low wash with far more usable spatial information. For natural ambience — woodland, coastline, open fields — I generally try to position myself so that no single dominant sound is closer than the general acoustic horizon of the scene. This requires patience and scouting time, but the recordings you get are far more versatile in post-production.
Recorder choice matters outdoors. Portability and battery life are practical constraints, but preamp quality determines how much you can push quiet ambience recordings without introducing noise. The Sound Devices MixPre-3 II is the recorder I reach for when ambience quality is the priority — its Kashmir preamps are genuinely quiet enough to capture distant bird calls and subtle wind-through-grass textures without the noise floor becoming a problem in the final mix.
Indoor Ambience: Room Acoustics and Microphone Placement
Indoor ambience recording presents an entirely different set of problems. Where outdoors you are fighting wind and trying to capture the openness of a large acoustic space, indoors you are often managing reflections, HVAC noise, and the way a room imposes its own character on whatever you record. The first step before placing a microphone is simply to stand in the room and listen. Identify the reverb tail length, notice where low-frequency buildup occurs, and locate any mechanical noise sources — air conditioning units, refrigerators, computer fans — that will appear in the recording.
For small rooms with relatively live acoustics, XY is the safer starting point because its mono-compatible nature means room reflections do not create comb filtering artefacts in the stereo image. Placing the microphone pair in the centre of the room at ear height gives you a balanced perspective, but moving it toward one wall emphasises the reflective character of that surface and can add interesting depth to the image. Experimentation here is genuinely productive — small position changes produce markedly different results in enclosed spaces.
Larger indoor spaces — churches, concert halls, stairwells — respond well to spaced omnis because the acoustic scale of the environment justifies the wider stereo base. In a cathedral, placing a pair of omnidirectional microphones four to six metres apart on a long stereo bar or separate stands captures the full reverberant field in a way that XY simply cannot. The DPA 4006A is the reference standard for this application, capturing low-frequency room tone and high-frequency air with equal accuracy. If the budget does not support DPA pricing, the Lewitt LCT 040 Match omni capsules offer a respectable alternative.
The microphone technique you choose must be determined by how the recording will be used — not by habit or default.
Monitoring and Gain Staging in the Field
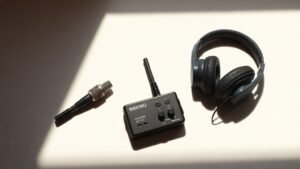
Ambience recording is one of the few situations where monitoring through headphones during the session is genuinely important rather than merely convenient. You need to hear exactly what the microphone pair is capturing — including low-level background noise, subtle phase irregularities, and the stereo image width — in real time. Closed-back headphones with accurate low-end reproduction are the right tool here. The Beyerdynamic DT 770 Pro in the 80-ohm version is a practical choice for field monitoring: it isolates well, handles the output of portable recorders without an additional amplifier, and represents the stereo image with enough accuracy to make informed decisions on location.
Gain staging outdoors requires a conservative approach. Ambience levels fluctuate unpredictably — a quiet forest recording can spike dramatically when a bird calls close to the microphone, or when wind gusts through the capsule despite windshield protection. Setting your input gain so that loud transients peak at around negative 12 dBFS gives you sufficient headroom to recover unexpected spikes without clipping, while still keeping quiet passages well above the noise floor. Record at 24-bit depth as a minimum; the additional dynamic range over 16-bit means you can record conservatively and still have clean signal to work with in post.
Editing and Checking Your Stereo Recordings
Once you have your recordings, the first check should always be a mono fold-down. Collapse both channels to mono and listen carefully for any significant level drop or hollow, filtered quality in the sound. Some reduction in level and width is expected and acceptable, but if the recording sounds thin or comb-filtered in mono, the stereo image has phase problems that will cause difficulties when the material is used in broadcast or any context where mono compatibility is required. If you recorded in XY, mono compatibility should be essentially perfect. ORTF recordings fold down with minor but usually acceptable colouration. Spaced omni recordings are the most likely to cause mono issues — use them only where you are confident the final delivery is stereo-only.
Room tone recorded indoors should be checked against the production audio it will accompany. A common issue is a mismatch in room character: the ambience recording was made in a slightly different position than the primary recording, resulting in a different reverb profile. If you are recording ambience to complement dialogue or music captured in the same space, always record the ambience from the same position as the primary microphone, or as close to it as practicable. Even a metre of difference in a small room can produce a detectable change in the low-frequency buildup and reverb tail.
Practical Workflow for Consistent Results
A reliable workflow removes the variables that produce inconsistent ambience recordings. Before any session, I carry a written checklist that covers windshield condition, battery state, storage space on the recorder, and the planned microphone configuration for the first location. Switching between XY and ORTF mid-session is straightforward if the microphones are on a proper stereo bar with marked angle positions — the Rycote stereo bar and the Ambient Recording QP 565 are both well-made options that hold their angle reliably without drift. Improvising the configuration with gaffer tape and goodwill is not a method I recommend for any work that matters.
Labelling recordings clearly at the time of capture saves significant time in post. Most portable recorders allow you to add a note or rename files on the device. At minimum, note the location, the microphone configuration, and the approximate distance from the dominant sound source for each take. When you return to the session with forty similar-sounding files, that metadata is the difference between a productive edit and an hour of frustrated listening.
Recording outdoor ambience without adequate wind protection produces unusable low-frequency rumble. Standard foam windshields do not provide sufficient protection beyond very calm conditions — invest in a blimp-style system with a fur cover before attempting serious outdoor work, not after a ruined session.
Using widely spaced microphones without checking mono compatibility creates phase problems that emerge too late. Always fold to mono during the edit stage, not after the material has been delivered; discovering phase issues in a broadcast or film mix is a far more costly problem to resolve.
Setting input gain too high for ambience work causes clipping on unpredictable transients. Ambience is not a controlled source — leave at least 12 dB of headroom above your average signal level and record at 24-bit depth so that conservative gain staging does not compromise the noise floor of quiet passages.
Conclusion
Recording stereo ambience well is fundamentally about matching your technique to the acoustic environment and the intended use of the recording. XY gives you phase safety, ORTF gives you natural width, and spaced omnis give you acoustic scale — each has a specific context where it outperforms the others. Combine the right technique with appropriate wind protection, sensible gain staging, and a consistent labelling workflow, and you will produce ambience recordings that serve their purpose reliably in any production context.

FREE DOWNLOAD
Stop Guessing. Start Buying Smart.
The specs that actually matter, demystified.
Headphones, microphones, the spec sheet jargon you can ignore — all in one quick-reference PDF. Free, instant, no fluff.
Send Me the CheatsheetYou'll also receive occasional new guide notifications. Unsubscribe anytime. No spam, ever.