Most engineers assume that calibrating studio monitors requires a measurement microphone and analysis software, but a trained pair of ears and a methodical approach can get you remarkably close to the same result.
I have spent the better part of fifteen years setting up monitoring systems in rooms that were far from ideal, from converted loft spaces and spare bedrooms to purpose-built control rooms that still had acoustic problems. What I have learned is that measurement tools are genuinely useful, but they are not the only route to a well-calibrated monitoring environment. The human auditory system, when used deliberately and with the right reference material, is a powerful diagnostic instrument in its own right.
This guide covers the practical steps I use to set monitor level, balance, positioning, and tonal response entirely by ear. You will learn how to identify and compensate for room anomalies, how to use reference tracks intelligently, and how to make incremental adjustments that compound into a meaningfully better listening environment. None of this requires software, a measurement microphone, or any expenditure beyond what you already own.
Establishing a Consistent Reference Level Before You Do Anything Else
The single most important step in any monitoring calibration process is fixing your playback level and keeping it fixed throughout the entire process. Without a consistent reference level, every adjustment you make is compromised because the human ear responds to frequency content differently at different volumes, a well-documented phenomenon described by the Fletcher-Munson curves. At low volumes, the ear perceives less bass and less high-frequency content relative to the midrange. At loud levels, that perception shifts. If your monitoring level drifts between sessions, your mix decisions will be inconsistent in ways that are very difficult to diagnose later.
I set my reference level using a simple SPL meter application on a mobile phone, aiming for 79 to 83 dB SPL at the listening position with pink noise playing from my DAW. Once I have that level marked on my interface or monitor controller, I do not touch the output level again except for deliberate momentary checks at quieter volumes. If you are using monitors with onboard volume controls, such as the Yamaha HS5 or the Adam Audio T7V, set those controls to their unity or maximum position and control level from your audio interface or monitor controller instead. This gives you a single, reliable gain stage to reference rather than two compounding variables.
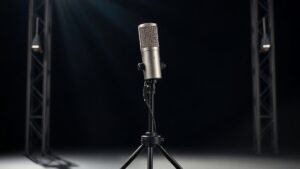
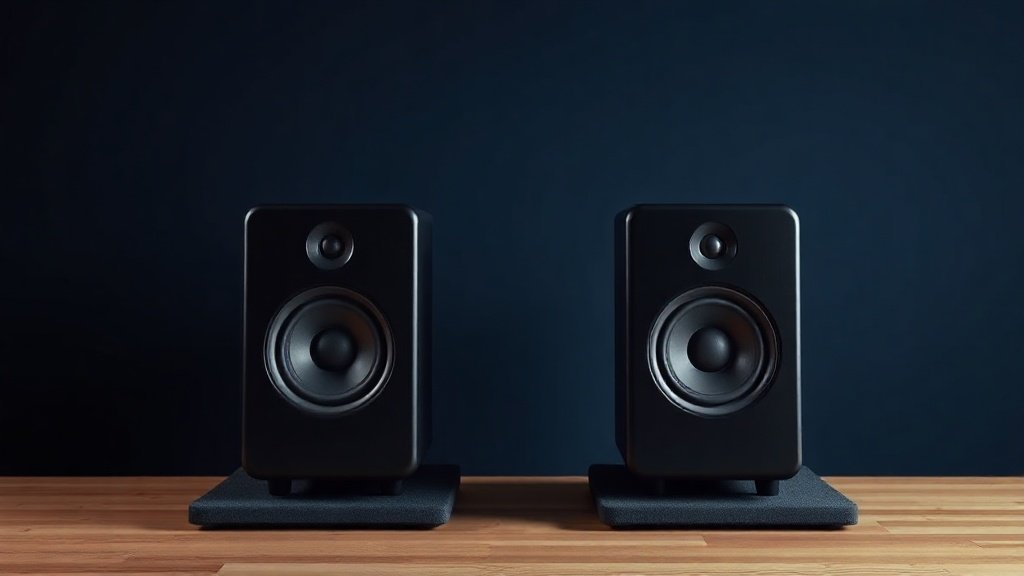
Positioning the Monitors for the Flattest Possible Response
Before you attempt to compensate for any tonal imbalance, you need to be certain that your monitor positioning is as close to optimal as it can be. A monitor placed incorrectly will produce acoustic problems that no amount of gain-shelf adjustment or EQ will fully resolve, because the problems are physical rather than electronic.
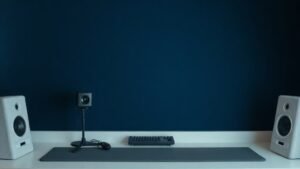
The equilateral triangle rule is the starting point: both monitors and your head at the listening position should form an equilateral triangle, with each side roughly equal in length. For most nearfield monitors in home studio contexts, that means the monitors are somewhere between 60 and 90 centimetres from your ears. The tweeters should be aimed directly at ear height when you are seated. On monitors like the Focal Alpha 50 Evo or the Genelec 8030, both of which are commonly found in home studios, the tweeter is centred on the front baffle and easy to align visually.
Equally important is keeping each monitor equidistant from its nearest side wall. If your left monitor is 40 centimetres from the left wall and your right monitor is 70 centimetres from the right wall, you will hear a stereo image that is pulled to one side and a frequency response that differs between the two channels purely due to early reflections. Move monitors away from corners and away from rear walls where possible, as bass frequencies in particular build up dramatically near room boundaries. Once positioning is optimised, many of the tonal problems you were planning to correct will have already reduced or disappeared.
A monitor placed incorrectly will produce acoustic problems that no amount of EQ adjustment will fully resolve, because the problems are physical rather than electronic.
Using Reference Tracks to Identify Frequency Imbalances
Once your level is fixed and your monitors are positioned correctly, the next step is to systematically listen for tonal bias using music you know intimately. The key word is intimately. You need tracks that you have heard on many different systems, in many different environments, so that you carry an internal model of what they should sound like. Generic genre selections will not work here. You need music that has been meticulously mastered, that covers the full frequency spectrum, and that you have a personal relationship with through years of listening.
My go-to reference tracks include material from Steely Dan, Pink Floyd, Dire Straits, and more recently, well-mastered modern releases from artists such as Billie Eilish and Kendrick Lamar, whose albums have been engineered with exceptional care and precision. I play these tracks and listen for specific things rather than a general impression. Is the bass weight present but controlled, or does it feel bloated and loose, suggesting a bass build-up from room modes? Does the upper midrange feel harsh or forward, suggesting a reflection problem or a monitor with a rising high-mid response? Does the stereo image feel centred and stable, or does it drift unpredictably?
Build a mental catalogue of what each reference track should sound like at a neutral position. Then ask whether your monitoring environment is flattering that expectation or distorting it. You are not trying to make the music sound good on your monitors; you are trying to identify the ways in which your monitors are lying to you.
Making Adjustments Using Built-In Monitor EQ Switches
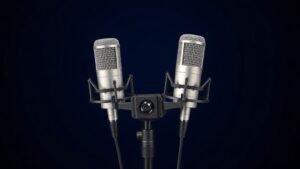
Many studio monitors include hardware EQ switches or shelving filters on the rear panel specifically designed to compensate for placement compromises. These are not afterthoughts; they are carefully tuned tools intended to be used. On the Yamaha HS7, for example, there is a low-cut filter and a high trim switch on the rear panel that allow you to reduce room-induced bass build-up and tame a bright top end. On Genelec monitors such as the 8040B, the SAM (Smart Active Monitoring) controls offer similar shelving adjustments at specific frequencies. Even on budget monitors like the KRK Rokit 5 G4, rear-panel EQ filters are present and genuinely useful.
After identifying a tonal imbalance through reference track listening, apply the most conservative correction available and then re-listen using the same reference material. The process is iterative. Make a small change, sit with it for at least ten minutes of attentive listening, then assess again. Resist the temptation to make several adjustments simultaneously. If you change the bass shelf and the high shelf at the same time, you will lose track of which change produced which result, and you risk overcompensating in multiple directions at once.
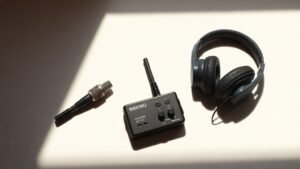
If your monitors do not have built-in EQ options, consider whether an outboard monitor controller with EQ is appropriate. Units like the Mackie Big Knob Studio Plus include basic tone controls that, when used conservatively, can help compensate for room-induced colouration without requiring you to insert EQ into your mix bus.
Validating Your Results With Cross-System Checks
No calibration process by ear is complete without a cross-system validation step. Once you have made your adjustments and listened back on your monitors for an extended session, take your reference tracks and play them on at least two other systems: a pair of good quality headphones, a portable Bluetooth speaker, and ideally a second set of monitors or a hi-fi system in a different room. The goal is to triangulate. If your mixes translate reasonably well across all of those environments, your monitoring calibration is in a workable state. If a mix that sounded balanced on your studio monitors consistently sounds bass-heavy on every other system, your room has a bass deficiency that your ear has compensated for, and you need to revisit your positioning or introduce some acoustic treatment.
For headphone cross-referencing, I recommend using a pair that you trust and have used extensively, such as the Beyerdynamic DT 990 Pro or the Sennheiser HD 600. Both of these are well-measured, widely used, and offer a different but informative perspective on frequency distribution. The key is to use the headphones as a diagnostic tool, not as a replacement for monitor listening. They will reveal low-end problems and stereo balance issues very quickly because they bypass the room entirely.
Maintaining Calibration Over Time
A calibration done once will drift. Seasonal temperature changes affect the acoustic properties of a room. Furniture moves. Acoustic panels settle or are removed. Equipment gets replaced. Developing a habit of periodic recalibration is just as important as the initial process. I spend approximately twenty minutes every month running through the same reference tracks on the same system at the same reference level, deliberately asking whether anything has changed since the last check.
Keep a simple written note of the settings you landed on after your initial calibration, including monitor position measurements, rear-panel EQ switch positions, and the reference level marking on your interface or controller. When something feels off in a subsequent session, you can compare your current setup against those notes to identify what has changed rather than starting from scratch. Over time, this disciplined approach builds a reliable, repeatable monitoring environment that you can trust session after session.
Relying on a single reference track is one of the most common calibration errors. No single piece of music covers the full audible frequency spectrum evenly, and using only one track will cause you to compensate for its specific characteristics rather than for genuine room problems. Use at least four to six well-mastered tracks that span different genres and production styles.
Making large adjustments and expecting immediate results will undermine the process. The human ear acclimatises quickly to its environment, which means the impact of a change is most clearly perceived in the first few minutes after it is made. Make small adjustments, take a short break, and return to listen with fresh ears rather than reaching for the largest correction available.
Ignoring the acoustic environment and focusing only on the monitors is a fundamental mistake. The monitors are only one part of the monitoring chain. An untreated room with hard parallel walls and no bass absorption will defeat even the most carefully adjusted monitors. Before adjusting any monitor setting, address the room with basic acoustic treatment such as corner bass traps and mid-to-high frequency absorption panels, even inexpensive options from brands like GIK Acoustics can make a measurable difference to what your ears are working with.
Conclusion
Calibrating studio monitors by ear is a disciplined, methodical process rather than a casual listen-and-tweak session. Fix your reference level, optimise your positioning, use music you know deeply, make conservative adjustments using the tools already built into your monitors, and validate the results across multiple playback systems. The process takes time, but the outcome is a monitoring environment that you can genuinely trust, which is the foundation everything else in the mix chain is built upon.

FREE DOWNLOAD
Stop Guessing. Start Buying Smart.
The specs that actually matter, demystified.
Headphones, microphones, the spec sheet jargon you can ignore — all in one quick-reference PDF. Free, instant, no fluff.
Send Me the CheatsheetYou'll also receive occasional new guide notifications. Unsubscribe anytime. No spam, ever.