The difference between a live recording that feels alive and one that sounds like a rehearsal tape almost always comes down to a single decision made before anyone plays a note: how you plan to capture the room.
Recording live performances is one of the most technically demanding things you can do with audio gear. You are dealing with an acoustic environment you did not design, a performance that will not happen twice, and signal sources that range from a cleanly balanced direct output to a room full of reflected sound bouncing off concrete walls. Every choice you make in the setup phase determines whether you walk away with something useful or something you will never listen to again.
This guide covers the three core approaches to live recording: capturing a direct feed from the mixing console or from individual sources, placing microphones in the room to record ambient sound, and combining both methods into a hybrid rig that gives you the flexibility to shape the final result in post. Along the way I will go into specific gear considerations, placement strategies, and the practical decisions that separate a workable recording from an exceptional one.
Understanding the Direct Feed Approach
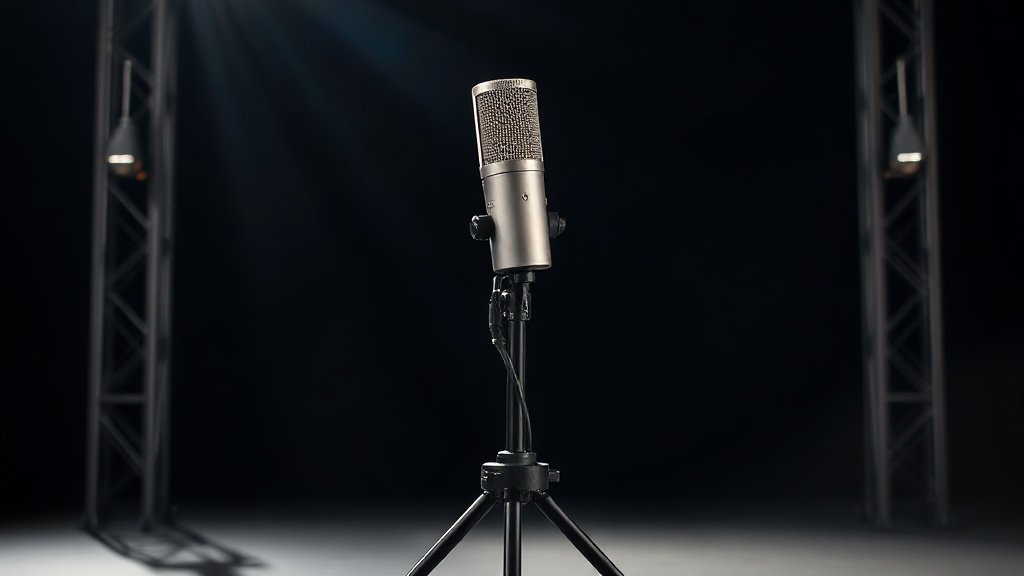
A direct feed means you are recording the signal before it ever reaches the room. In a live venue context, this usually means tapping a pre-fader auxiliary send or a direct output from the front-of-house console. If the venue is running a digital desk — something like a Yamaha CL5, a DiGiCo SD11, or an Allen and Heath dLive — you can often pull individual channel outputs via MADI, Dante, or AES50, which gives you fully isolated tracks for every microphone and DI on stage. That is the ideal scenario because it means you are not at the mercy of whatever the front-of-house engineer is doing to the mix at any given moment.
The signal chain from a direct feed is clean, controllable, and free of room acoustics. That is both its greatest strength and its most significant limitation. A recording made entirely from direct feeds can sound clinical — processed, close, and strangely disconnected from the experience of being in the room. Vocals will be intimate, kick drums will be tight, but you will have lost the sense of scale and atmosphere that makes a live recording feel like something actually happened. For certain genres — electronic music, jazz trio recordings in a controlled venue, spoken word events — this can be exactly what you want. For a rock band in a 500-capacity room, it rarely tells the whole story.
To capture direct feeds you need an interface or recorder with enough inputs. The Zoom LiveTrak L-20 handles up to 20 channels and records directly to an SD card without requiring a laptop, which makes it genuinely practical for live use. If you are working at a higher level, a dedicated multitrack recorder like the Tascam DA-6400 or a laptop-based rig running a RME HDSPe MADI interface gives you the headroom to record full stage splits. Gain staging matters enormously here — set your input levels conservatively because you cannot go back and fix a clipped transient on a snare drum hit.
Recording Ambient Sound with Room Microphones
Ambient recording means placing microphones in the room and capturing what the audience hears. Done well, it is the most emotionally honest representation of a live performance. Done poorly, it is a wash of reverb, crowd noise, and indistinct low-end. The difference is almost entirely down to microphone choice and placement.
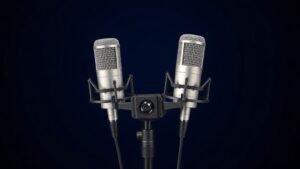
For large venues with good acoustics, a spaced pair or an ORTF pair of condenser microphones placed at the front-of-house position — typically 15 to 25 metres from the stage, depending on room size — will capture the blend of the system as the audience experiences it. The Sennheiser MKH 8040 is a cardioid small-diaphragm condenser that handles high SPL well and has a flat, extended frequency response that translates cleanly to a recording. A matched stereo pair in ORTF gives you a wide stereo image with natural depth. The Neumann KM 184 is another reliable option in this category — it is a recognised standard for overhead and ambient work in demanding acoustic environments.
In smaller or acoustically problematic venues, the front-of-house position is often too close to the PA system to give you a useful blend. In those cases, experiment with pulling back toward the rear of the room or raising the microphones higher on a tall stand to get above the direct coverage of the speaker system. Alternatively, a mid-side configuration using a cardioid capsule and a figure-eight ribbon microphone gives you variable stereo width in post, which is useful when you are uncertain how wide you want the room to sound. The Royer R-121 paired with a small-diaphragm cardioid is a combination I have used in exactly this context.
Hybrid Recording: Combining Direct and Ambient Sources
The hybrid approach is what most professional live recording engineers default to, and for good reason. You get the clarity and separation of direct feeds alongside the atmosphere and energy of room microphones, and you blend them in post to suit whatever the recording needs to sound like.
The practical challenge of hybrid recording is phase alignment. Your ambient microphones are physically distant from the stage, which means the sound arrives at them later than the signal hitting your direct inputs. If you mix the two sources together without correcting for this delay, you will get comb filtering — a hollow, phasey quality that undermines both the punch of the direct signal and the air of the ambience. In most DAWs, the fix is straightforward: measure the distance from the stage to your ambient microphones in metres, divide by 343 (the speed of sound in metres per second), and nudge the direct tracks forward in time by that amount. A room microphone placed 20 metres from the stage needs approximately 58 milliseconds of compensation on the direct tracks.
Gain structure across both sources requires careful management. Your ambient microphones will capture the entire PA output, which can be extremely loud at certain venues. Use a pad if the microphone offers one — the MKH 8040 has a 10 dB pad for exactly this reason — and set your recording levels so that the loudest moments of the performance leave at least 6 dB of headroom. The direct feeds will likely be arriving at more consistent levels if you are tapping a post-limiter insert point on the console, but confirm this with the front-of-house engineer before the show starts.
A recording made only from direct feeds can tell you exactly what was played. A recording made only from room microphones can tell you what it felt like. The best live recordings do both.
Choosing the Right Microphone Polar Pattern for the Room
Polar pattern selection is one of the most consequential decisions in ambient live recording, and it is frequently underestimated. A cardioid microphone placed at the front-of-house position will reject sound coming from behind it — including crowd noise from the back of the room — and focus on the stage. This is often desirable in venues where audience noise is unpredictable or where the PA system throws significant energy toward the rear wall. The trade-off is a narrower stereo image and less sense of room involvement.
An omnidirectional microphone captures everything equally in all directions, which in a venue with good acoustics produces a natural, open sound with excellent low-frequency extension — omnidirectional capsules have no proximity effect and no low-end roll-off from proximity. The DPA 4006-TL is a benchmark omnidirectional microphone used on countless professional live recordings precisely because it captures the full acoustic picture of a room without colouration. In a venue with strong rear-wall reflections or aggressive HVAC noise, however, an omni will capture those problems with the same enthusiasm it brings to the music.
Figure-eight microphones — which are bidirectional, capturing sound from front and back while rejecting sound from the sides — are less commonly used as standalone room mics but are essential to mid-side recording rigs. If you are working in a venue where you cannot predict how wide the stereo image should be, setting up a mid-side pair gives you that decision back in post. Record the mid and side signals to separate tracks, and you can adjust the ratio of the two during mixing to make the room feel intimate or expansive as the material demands.
Monitoring During a Live Recording
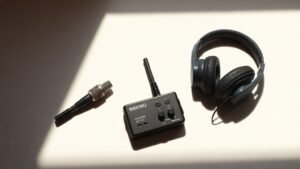
One aspect of live recording that is often overlooked in planning is how you will monitor your inputs during the performance. In a studio, you can stop and adjust. At a live show, you have one take and the performance will not pause for you to fix a gain issue. Monitoring your recording inputs in real time — not the front-of-house mix through the room system — is essential for catching problems before they become permanent.
A closed-back headphone with good isolation and accurate low-frequency reproduction is the right tool here. The Beyerdynamic DT 770 Pro or the Sony MDR-7506 are both widely used for exactly this kind of live monitoring work because they block enough ambient sound to let you hear your recording signal clearly even in a loud venue. Connect them directly to your interface or recorder headphone output, not to the room system, and keep the volume at a level where you can hear detail without fatigue over a two or three hour show.
If you are using a laptop-based rig, make sure your DAW is set to record-arm all tracks and that you are visually monitoring input levels on screen as well. Metering is your safety net. Set a colour-coded threshold at -6 dBFS so any channel approaching that level is immediately visible. The goal during the show is to watch, not to mix — the creative decisions come later in the edit suite.
Post-Session Workflow and Phase Correction
Once you are back at the desk with your multitrack files, the first task is organising the session before you listen to anything. Label every track, confirm sample rates match across your direct and ambient sources — a mismatch between 48 kHz direct feeds and a 44.1 kHz ambient recorder is a common problem that causes pitch and timing errors — and make a duplicate of the raw session before you touch anything. Work from the copy.
Phase correction between direct and ambient sources, as described earlier, should be the first technical adjustment you make. After that, low-cut filtering on the room microphones to remove subsonic energy below 40 Hz will clean up the low end considerably without affecting the weight of the kick drum or bass in the mix. From there, the balance between the direct and ambient layers is a creative decision: how much of the room do you want to hear? In most cases, the room microphones sit 6 to 10 dB below the direct mix and act as a bed of atmosphere rather than a primary source. But in a recording where the room acoustics are genuinely special, you can let the ambient mics carry the weight and use the direct feeds only to add definition to specific instruments.
Recording only from a single stereo mix output is the most common mistake made at live events. A summed stereo output from the front-of-house desk reflects every real-time fader move the engineer makes during the show, which means you have no control over the balance in post and no way to fix a buried vocal or a boomy kick drum after the fact.
Placing ambient microphones too close to the PA speaker stacks destroys the recording. At close range you are capturing the direct output of a loudspeaker rather than the blended acoustic image of the room, which produces a harsh, imbalanced signal that cannot be corrected in mixing. Always position room microphones at a distance where the PA has had time to integrate acoustically.
Neglecting to do a line check before the performance begins causes avoidable failures. Arrive early enough to confirm every input is receiving signal, every track is record-armed, and your storage media has sufficient capacity for the full duration of the show including any support acts or soundcheck material you may want to keep.
Conclusion
The method you choose to record a live performance — direct, ambient, or hybrid — should follow from the acoustic reality of the venue and the intended use of the recording. Direct feeds give you control. Room microphones give you atmosphere. The hybrid approach, managed carefully with proper phase alignment and gain structure, gives you both. Plan the rig before the show, monitor during it, and do the detailed work in post. That sequence, applied consistently, is what separates a professional live recording from a document that nobody listens to twice.

FREE DOWNLOAD
Stop Guessing. Start Buying Smart.
The specs that actually matter, demystified.
Headphones, microphones, the spec sheet jargon you can ignore — all in one quick-reference PDF. Free, instant, no fluff.
Send Me the CheatsheetYou'll also receive occasional new guide notifications. Unsubscribe anytime. No spam, ever.