A room that sounds terrible on its own will still sound terrible through a thousand-pound microphone, and no amount of processing after the fact will fully undo what the walls put into the recording.
After fifteen years of recording vocals in spaces ranging from purpose-built studios to spare bedrooms and garden sheds, the single most consistent truth I have encountered is this: acoustic treatment matters more than the microphone. That is not a provocative claim, it is simply the order of operations. Microphones capture everything in the room, not just the voice, and a good condenser will pick up flutter echo and low-frequency buildup with equal enthusiasm.
This guide walks through every practical tier of vocal booth construction, from free and near-free solutions using what you already own, through mid-budget dedicated treatment panels, all the way up to a proper isolated room build. Each tier has genuine trade-offs and I will be direct about what each one actually solves, and what it does not.
Understanding What You Are Actually Trying to Fix
Before spending any money, it helps to understand which problem you are solving. There are two distinct challenges in home vocal recording and they require different solutions. The first is acoustic treatment, which addresses the way sound behaves inside your room: reflections off hard walls, comb filtering, flutter echo between parallel surfaces, and low-frequency buildup in corners. The second is soundproofing, which is about stopping sound from travelling between your room and the rest of the building. These are not the same thing, and most affordable solutions address only the first.
Acoustic treatment makes your recordings sound dry and controlled. Soundproofing keeps the sound of next-door activities out of your microphone and keeps your voice from disturbing other people in the building. A thick curtain absorbs some mid and high frequencies but does almost nothing to block the low-frequency rumble of traffic or a washing machine three rooms away. Understanding this distinction will stop you from wasting money on solutions that address the wrong problem.
For most home recordists, acoustic treatment is the priority. Unless you are recording next to a busy road with paper-thin walls, the reverberant character of your room is the main enemy of clean vocal takes. That is where the majority of this guide is focused.
The Free and Near-Free Tier: Using What You Own
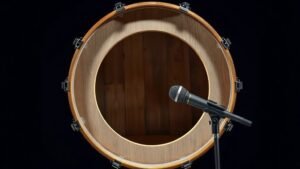
The most accessible approach requires no expenditure at all. Recording inside a large wardrobe packed with hanging clothes is genuinely effective and I have used this method on professional projects in a pinch. Dense fabric hanging in multiple layers provides broadband absorption across the mid and high frequencies, which are the most audible sources of room character. The clothes surrounding you on three or four sides eliminate most of the early reflections that would otherwise smear the transients of consonants and cause a recognisable boxy quality in the recording.
If a wardrobe is not available, a heavy duvet or several thick blankets draped over a portable clothes rail and arranged in a horseshoe shape around the microphone position achieves a similar result. This is sometimes called a blanket booth and while it looks undignified, it works well enough that some professional voice-over artists use it on location. The critical point is that the absorption needs to surround the microphone, not just sit behind the singer. Reflections from the wall the singer is facing bounce directly back into the microphone capsule and are just as damaging as those from behind.
At this tier, a cardioid polar pattern becomes particularly important. A microphone in cardioid mode rejects sound arriving from directly behind the capsule, which helps reduce the pickup of reflections from the wall behind the performer. A large diaphragm condenser set to cardioid, such as the Audio-Technica AT2020 or the Rode NT1, will perform significantly better in a makeshift treated space than the same microphone set to omni or figure-eight.
The Mid-Budget Tier: Dedicated Acoustic Treatment
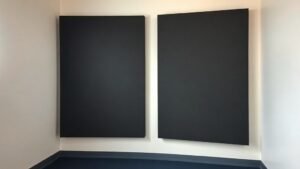
Once you are ready to invest a modest sum, purpose-made acoustic panels become the most efficient use of money. Rockwool or mineral wool panels in a timber frame, covered with breathable fabric, are the workhorse of studio treatment. A 50mm-thick panel of Rockwool RW3 or RW4 provides effective absorption down to around 500Hz and meaningful absorption below that with increased thickness. These can be built for under thirty pounds each in materials if you are willing to spend an afternoon with a staple gun.
Positioning matters considerably more than the total quantity of panels. The priority positions are the two side walls at the first reflection points, which you can locate by sitting at the microphone position and having someone slide a mirror along each side wall until you can see the monitors or the source in the mirror. The point where that happens is where the first reflection lands. Cover those points first, then address the wall directly behind the microphone and the ceiling above the recording position.
A reflection filter mounted directly behind the microphone on the boom arm is a useful supplement, not a replacement for room treatment. The sE Electronics Reflexion Filter Pro and the Kaotica Eyeball are both real and currently available options that reduce rearward reflections at the capsule level. These are most useful when you are recording in a room that has some treatment but not complete coverage. In a completely untreated room, a reflection filter reduces the direct reflection behind the mic but does little about reflections arriving from the sides or from the wall the performer is facing.
No reflection filter, regardless of how well it is made, can substitute for treating the room that surrounds both the microphone and the person singing into it.
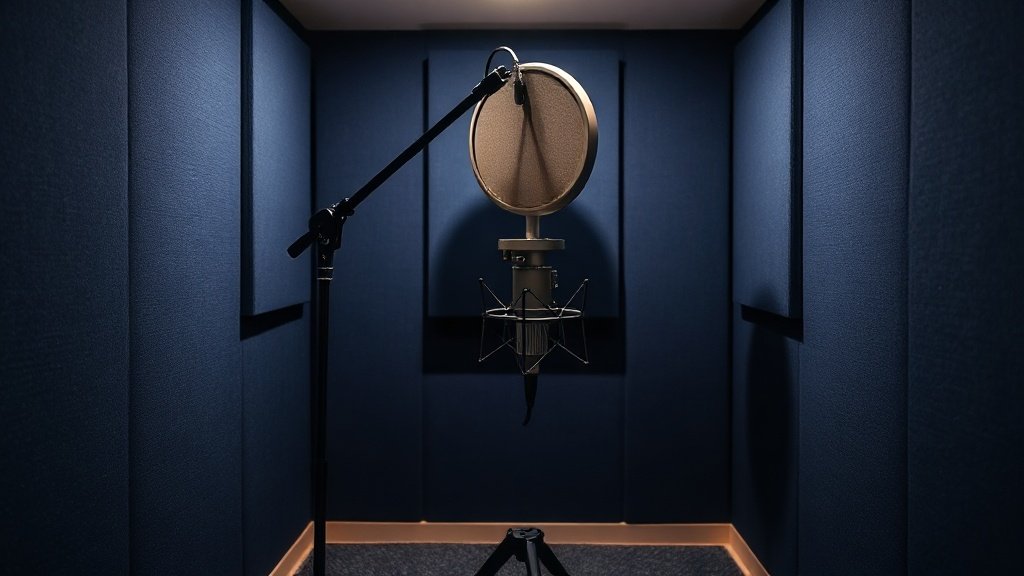
The Proper Booth Tier: Building a Dedicated Space
A genuine vocal booth requires isolation as well as treatment, and that means addressing mass, decoupling, and air gaps. The fundamental principle of soundproofing is that mass resists the transmission of sound waves, and that two independent structures separated by an air gap perform far better than a single thick structure of equivalent weight. This is why a room within a room, built on an isolated floating floor and with walls that do not make contact with the outer structure, is the gold standard approach.
For a home build, the most practical version of this is a stud wall construction using two layers of 12.5mm acoustic plasterboard separated by a layer of acoustic membrane such as Tecsound 50 or a similar loaded vinyl product. The stud frame should be mounted on resilient acoustic bar or neoprene isolation feet rather than screwed directly to the floor. Doors are always the weak point: a solid-core door with perimeter acoustic seals and a drop seal at the threshold provides significantly better isolation than a hollow-core door regardless of what you do to the frame around it.
Inside the booth, treatment follows the same principles as the mid-budget tier but with more thorough coverage. Bass traps in the corners are essential in a small room because low frequencies build up at room boundaries. Floor-to-ceiling corner treatment using thick mineral wool panels, ideally 100mm or deeper, controls the low-mid buildup that makes small booths sound boxy and nasal. The goal is a short, even decay across all frequencies, not a completely dead room. Completely dead rooms are fatiguing to sing in and often produce recordings that feel unnatural and lifeless without significant reverb added in post.
Ventilation, Noise Floors, and the Details That Matter
One of the most frequently overlooked aspects of a home vocal booth is what happens to the air inside it. A sealed room warms up quickly and becomes uncomfortable within minutes, which affects vocal performance directly. Any ventilation system that solves this problem introduces a noise path, and a poorly designed ventilation solution can create a noise floor that is worse than the room you started with. The standard professional solution is a baffled duct lined with acoustic foam, running in a series of bends so that sound cannot travel in a straight line between the inside of the booth and the outside environment.
Electrical noise is the other silent saboteur of clean recordings. Ground loops from power supplies, the hum of a laptop fan, or the noise from a poorly shielded cable will all appear in a recording made in a quiet treated space in ways that they simply did not in a noisier room. When the room is acoustically controlled, the noise floor of your equipment becomes audible. This is the point at which a low-noise microphone preamplifier becomes worthwhile: interfaces such as the Universal Audio Volt 276 or the Focusrite Scarlett 4th generation range offer low enough equivalent input noise to let a sensitive condenser microphone operate without the preamp adding significant self-noise to the signal.
Choosing the Right Microphone for an Imperfect Space
The acoustic character of your recording environment should directly influence which microphone you choose for vocal work in that space. In a room that is only partially treated, a large diaphragm condenser with a tighter polar pattern will be more forgiving than one with a wider cardioid response. The Shure SM7B, a dynamic microphone, is popular in home studios partly because its rejection of off-axis sound reduces the pickup of room ambience considerably, and it requires proximity to work well, which naturally reduces the ratio of room sound to direct sound in the recording.
A ribbon microphone presents a figure-eight polar pattern, which rejects sound arriving from the sides while picking up sound from both front and back. In a room treated primarily on the side walls with a well-treated wall behind the microphone, this can produce exceptionally natural vocal recordings because the figure-eight pattern aligns neatly with the treated surfaces. The Beyerdynamic M 160 or the Royer R-10 are current examples of ribbon microphones suited to home studio vocal recording, though they require a clean, high-gain preamp to perform well.
Treating only the wall behind the microphone is the most common and most costly mistake home recordists make. Reflections arrive at the microphone capsule from every surface in the room, and a single panel behind the mic deals with only a fraction of the problem while leaving the side walls and ceiling completely untreated.
Confusing soundproofing with acoustic treatment leads to wasted expenditure on products that solve neither problem well. Foam tiles do not meaningfully block sound transmission between rooms, and mass-loaded vinyl does not significantly reduce the reverberation inside a room; choose your materials based on which specific problem you are solving.
Building a completely dead room without considering the comfort of the performer is a mistake that affects the quality of the recordings themselves. Singers and voice-over artists perform differently in an acoustically oppressive space, and a room with a very short but even decay sounds more natural on record than one that has been over-treated into silence.
Conclusion
Building a vocal booth at home is a process of solving problems in order of their impact. Start with the acoustic behaviour of the room using whatever materials you have access to, then invest in dedicated treatment panels at the first reflection points, and only then consider full isolation if your recording environment genuinely demands it. The tools and materials needed at every level of this process are real, available, and well understood. The difference between a mediocre home recording and a professional one is almost always the room, not the microphone sitting in it.

FREE DOWNLOAD
Stop Guessing. Start Buying Smart.
The specs that actually matter, demystified.
Headphones, microphones, the spec sheet jargon you can ignore — all in one quick-reference PDF. Free, instant, no fluff.
Send Me the CheatsheetYou'll also receive occasional new guide notifications. Unsubscribe anytime. No spam, ever.