Most studios get treated rooms wrong not because the gear is bad but because the engineer reached for absorbers when the room needed diffusers, or worse, used both indiscriminately and ended up with a space that sounds smaller and deader than a wardrobe.
Acoustic treatment is one of those subjects where half the advice online is either oversimplified or quietly wrong. You will see foam tiles plastered across every surface, rooms that have been turned into anechoic approximations, and mixing environments so over-damped that the engineer loses all sense of how a track will translate. The reality is that absorption and diffusion are not interchangeable tools. They solve different problems, and applying the wrong one in the wrong location can actively make your monitoring environment worse.
This guide covers how each treatment type works at a physical level, where each one belongs in a typical rectangular studio room, how to identify which problem you are actually dealing with, and the most common errors engineers make when they start treating a space. Whether you are building out a purpose-designed recording room or trying to get better results from a spare bedroom setup, understanding the distinction between these two tools is the foundation of everything else.
What Absorbers Actually Do to Sound
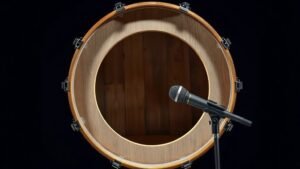
An absorber converts acoustic energy into heat through friction. When a sound wave passes into a porous material such as rockwool, acoustic foam, or fibreglass, the air molecules moving through the material lose energy as they interact with the fibres. The thicker the material and the lower its flow resistance, the lower the frequencies it can control. A thin sheet of acoustic foam, the kind sold in egg-crate profiles or pyramid tiles, only meaningfully absorbs frequencies above roughly 500Hz. To absorb low-mid and bass frequencies you need mass and depth. Panels of 100mm Rockwool RW3 or OC703 fibreglass, built into frames and positioned strategically, begin to address energy down into the 100 to 200Hz range. True bass trapping requires corner placement because corners are where low-frequency pressure builds most intensely.
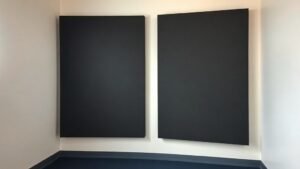
The practical takeaway is that absorbers reduce the energy of reflections. They shorten the decay time of a room, lower the reverb tail, and reduce flutter echo between parallel walls. In a recording environment where you are capturing a dry signal, targeted absorption is often exactly what you need. But in a mixing environment, too much absorption strips the room of the liveliness that helps your ears stay calibrated. A completely dead room does not help you mix, it exhausts your perception and makes it harder to judge depth and width in a track.
Companies such as Acoustimac and GIK Acoustics produce ready-made broadband absorption panels that are considerably more effective per millimetre than retail acoustic foam. The GIK 244 panel, for instance, uses a 4-inch core of rigid fibreglass with an optional scatter plate that adds a small diffusive component. If you are working with a limited budget and cannot build your own frames, panels like these represent a practical starting point for first reflection points and corner treatment.
What Diffusers Do and Why They Are Not Just Decorative
A diffuser scatters sound energy rather than absorbing it. Instead of converting the wave into heat, a diffuser redirects it across a wide range of angles by presenting the wave with surfaces at varying depths. The most widely recognised design is the quadratic residue diffuser, or QRD, which uses a sequence of wells of different depths arranged according to a mathematical sequence derived from number theory. When a sound wave hits the wells, different parts of the wave reflect back at different phase relationships, spreading energy across the room instead of returning it as a coherent specular reflection.
The critical distinction is that a diffuser preserves energy in the room. It does not reduce the total acoustic energy the way an absorber does; it redistributes it. This matters enormously in a mixing room. You want enough liveliness that the space feels natural to your ears, but you do not want strong, coherent reflections arriving at the mix position shortly after the direct sound from your monitors. Diffusers placed on the rear wall of a mixing room, for example, scatter the energy that bounces back from behind the engineer so that it arrives from multiple directions at low level rather than as a focused slap-back. The Acoustics First FlutterFree diffuser panels and the RPG Diffusor Systems range are examples of commercially available QRD-style diffusers used in professional environments.
Diffusers are also frequency-specific in their effectiveness. The depth of the wells in a QRD diffuser determines the lowest frequency it can scatter. Shallow diffusers work only in the high-mid and treble range. For a diffuser to be effective down to 500Hz or below, the wells need to be considerably deeper, which means the panel itself becomes physically substantial. This is why you see large wooden diffuser panels in professional mastering and mixing rooms but relatively shallow decorative diffusers in smaller project studios. The shallow ones still help with upper-frequency flutter and add life to the high-frequency response of the room, but they are not doing much for your low-mid buildup.
A dead room does not help you mix, it removes the acoustic reference your ears need to judge space and depth in a recording.
First Reflection Points: Absorption Is Almost Always Correct Here
The first reflection point is the location on a side wall, ceiling, and rear wall where sound from your monitor speaker bounces once before reaching your ears. These early reflections arrive just milliseconds after the direct sound and cause comb filtering, which smears the stereo image and distorts your perception of frequency balance. At these positions, absorption is the correct treatment. You want to reduce the energy of those early reflections, not scatter them, because even scattered energy arriving in that early time window contributes to the smearing effect.
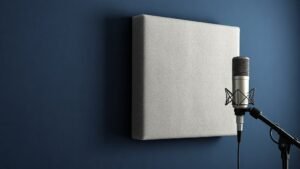
To locate your first reflection points on the side walls, sit at your mix position and have someone slowly move a mirror along the wall at ear height. Every position where you can see a monitor speaker in the mirror is a first reflection point. Place a broadband absorber at each of these locations. The panel needs to be large enough to intercept the reflection across the listening sweet spot, which typically means a minimum of 60 by 90 centimetres. Thinner panels of 50mm can work for upper frequencies but a 100mm panel will extend control further into the low-mid range where many of the most problematic reflections occur.
The ceiling reflection point directly above and slightly in front of the mix position should also be treated with absorption. Some engineers build a cloud panel, a suspended horizontal absorber, for exactly this purpose. The rear wall is where the decision becomes more nuanced and is where diffusion starts to earn its place.
The Rear Wall: Where Diffusion Earns Its Place
The rear wall of a mixing room sits behind the engineer and at a significant distance from the monitors. Sound from the speakers travels past the engineer, hits the rear wall, and returns. Because this reflection has travelled a longer path, it arrives later than the first side-wall reflections. In a room of typical project studio dimensions, the rear wall reflection might arrive 20 to 40 milliseconds after the direct sound, depending on room depth. At this delay, the reflection is less disruptive to comb filtering but can create a sense of artificial spaciousness or muddy the low end if it is reinforcing room modes.
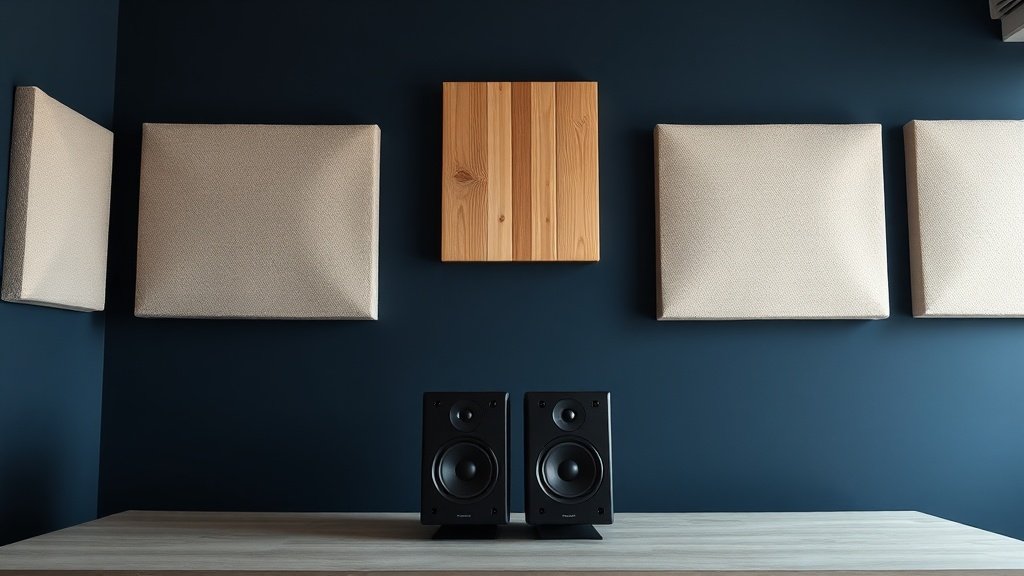
Placing a large broadband absorber across the entire rear wall removes this energy entirely, which in a small room often results in the dead, fatiguing quality mentioned earlier. A better approach in most rooms is to treat the rear wall with diffusion across the central section and absorption at the corners where bass pressure accumulates. This preserves some liveliness at high frequencies while controlling modal buildup. The RPG Skyline diffuser, a two-dimensional QRD panel, is used in exactly this configuration in many professional rooms. For project studios with tighter budgets, a combination of built wooden diffuser panels using the free QRD calculator available from RPG and corner-mounted bass traps achieves a similar result at lower cost.
It is also worth noting that the distance between the mix position and the rear wall affects which approach works best. In a very small room where the rear wall is only a metre or so behind the engineer, diffusion does not have enough physical space to work effectively at most frequencies. In that scenario, full rear-wall absorption may actually be the better pragmatic choice even at the cost of some liveliness.
Corner Treatment: Neither Diffusion nor Standard Absorption Is Enough
Low-frequency modes build up at room boundaries, and corner junctions are where three boundaries meet simultaneously. A floor-to-ceiling bass trap in each corner of the room is the single highest-impact acoustic treatment you can add to a rectangular studio space. Standard acoustic foam panels do almost nothing at bass frequencies. You need density and depth: Rockwool Safe-n-Sound, rigid fibreglass such as OC703, or purpose-made corner traps using high-density mineral wool.
The corners behind the monitors and the corners at the rear of the room are the priority positions. Filling these corners from floor to ceiling with 200 to 300mm of dense fibreglass or mineral wool will reduce the worst modal buildup and give you a more accurate low-frequency picture at the mix position. This is not a cosmetic treatment, it is structural to the accuracy of everything else you do in the room. No amount of careful absorption or diffusion placement at the walls compensates for uncontrolled bass modes filling the corners.
Layering Both Treatments in Smaller Rooms
In a room smaller than roughly 15 square metres, pure diffusion across large surfaces is often impractical because diffusers need distance to work. The scattered wavefronts from a QRD panel need space to spread before they reach the listening position. In tight rooms, the pragmatic approach is to prioritise absorption at all first reflection points and corners, then introduce limited diffusion on the rear wall only if there is at least two metres between the engineer and that surface. Partial coverage, perhaps 60 percent absorption and 40 percent diffusion across the rear wall, often gives better results than either approach applied uniformly.
Rooms with non-parallel walls or irregular geometry already introduce some natural diffusion through their shape. If you are working in a room with a sloped ceiling, alcoves, or irregular surfaces, you have less need for dedicated diffuser panels because the room itself is already scattering energy. In that case, focused absorption at reflection points and corners may be sufficient. Conversely, a perfectly rectangular room with smooth plaster walls and a flat ceiling is the worst case scenario acoustically and benefits most from a layered treatment strategy combining corner bass traps, first-reflection absorbers, and rear-wall diffusion.
Covering every surface with thin acoustic foam is one of the most common and most damaging treatment errors an engineer can make. Thin foam absorbs only high frequencies, leaving low-mid and bass energy untouched while deadening the top end, which results in a room that sounds dull and unbalanced rather than accurate. Use thick, dense panels at key positions rather than uniform foam coverage.
Placing diffusers at first reflection points instead of absorbers is a misunderstanding of how early reflections affect the mix position. Diffusers scatter energy but do not eliminate the early arrival time problem that causes comb filtering at the listening position. Absorption at first reflection points is not optional, it is the correct tool for that specific job.
Treating only the walls and ignoring the corners means most of the low-frequency problem in the room remains entirely unaddressed. Bass pressure accumulates at corner junctions, not at flat wall surfaces, so flat-wall panels have minimal effect on modal buildup. Floor-to-ceiling corner bass traps using dense mineral wool or rigid fibreglass should be the first treatment installed, not an afterthought.
Conclusion
Absorption and diffusion are complementary tools that solve different acoustic problems in different parts of a room. Absorption reduces energy and belongs at first reflection points and in corners as bass trapping. Diffusion scatters energy and earns its place on the rear wall and in larger rooms where the listening position has enough distance from the treated surface. Getting this distinction right matters more than the brand of panel you choose or how much you spend on treatment.

FREE DOWNLOAD
Stop Guessing. Start Buying Smart.
The specs that actually matter, demystified.
Headphones, microphones, the spec sheet jargon you can ignore — all in one quick-reference PDF. Free, instant, no fluff.
Send Me the CheatsheetYou'll also receive occasional new guide notifications. Unsubscribe anytime. No spam, ever.