Bowed string instruments project sound in ways that fool even experienced engineers — record them badly and you capture a thin, scratchy imitation of the real thing; record them well and the result can stop a room.
The violin, cello, and acoustic bass each radiate sound from multiple points simultaneously: the top plate vibrates, the f-holes project midrange energy, the back and sides bounce reflections into the room, and the bow itself generates a layer of transient noise that sits right on top of everything. Getting a usable recording means understanding where the useful sound actually lives, and that is rarely directly in front of the instrument the way you might aim a mic at a guitar cabinet.
This guide covers microphone selection, polar pattern choices, specific placement strategies for each instrument, how the room interacts with low-frequency string tone, and the most common errors that compromise otherwise good sessions. The goal is a signal chain that preserves the full dynamic range and tonal character of each instrument without adding noise, harshness, or unwanted room blur.
Choosing the Right Microphone for Bowed Strings
Large-diaphragm condensers are the default choice in many studios, and they work well on cello and acoustic bass where body resonance and warmth are the priority. The Neumann U 87 Ai remains a reliable reference point: its gentle presence lift around 8 kHz adds air without exaggerating bow noise, and the switchable polar patterns give you flexibility when the room is less than ideal. The AKG C 414 XLII is another strong option, particularly because its nine polar pattern settings let you dial in exactly the right balance of direct sound and room reflection without moving the stand.
For violin, many engineers prefer small-diaphragm condensers. The Neumann KM 184 is a consistent favourite for its tight cardioid pattern and extended high-frequency response that captures the upper harmonics of a violin without the slight coloration some large-diaphragm capsules introduce. The DPA 4006A omnidirectional microphone is worth considering when the room is good and you want the most natural-sounding result: omni patterns have no proximity effect, which means the tonal balance stays consistent across a wider range of working distances. That matters more than most engineers realise until they have moved a cardioid mic a few centimetres and heard the bass response shift noticeably.
Microphone Placement: Violin
The most important thing to understand about miking a violin is that pointing directly at the f-holes from close range produces a result that sounds nothing like the instrument in a room. The f-holes project a concentrated band of midrange that becomes honky and unpleasant when captured at short distances. A better starting point is a position roughly 30 to 45 centimetres above and slightly to the side of the instrument body, angled down toward the upper bout. This captures the radiation from the top plate more evenly and includes the natural room return without too much early reflection blur.
At distances beyond 60 centimetres, a single cardioid starts to pick up room ambience that can be difficult to control in post. If the room is well treated, this is less of a problem. In a domestic setting or a poorly diffused commercial space, consider moving closer and using a high-pass filter to manage any low-frequency room rumble. The Rupert Neve Designs 5017 mobile pre includes a well-voiced high-pass filter that rolls off cleanly without thinning out the body of the instrument, which is a useful tool in those situations.
A coincident pair — two small-diaphragm cardioids arranged in an XY configuration — works well for solo violin when stereo width is needed. Position the crossed capsules about 40 centimetres above the bridge and angle each mic roughly 90 degrees apart. This gives a stable centre image while preserving a sense of the instrument moving in space, which mono close-miking removes entirely.
Microphone Placement: Cello
The cello presents a different challenge because its fundamental frequencies extend down into the 60 to 80 Hz range, and the instrument projects significant energy from both the top plate and the rear body. A common placement is roughly 50 centimetres in front of the instrument, positioned at the level of the upper bout and angled slightly downward. This picks up the top plate projection while keeping the mic far enough away that the polar pattern does not introduce proximity-effect bass boost that competes with the natural body resonance.
If you are working in a large-diaphragm cardioid and notice the low end becoming muddy at closer distances, switching to the wide cardioid or hypercardioid setting on a multi-pattern mic can help tighten the image. On the AKG C 414 XLII, the hypercardioid position reduces side pickup and pulls in less room ambience, which is useful in moderate acoustics. Alternatively, adding a room mic — a figure-of-eight or omnidirectional placed two to three metres back — gives you a blend option in the mix without committing to ambience at the close mic position.
For orchestral cello parts that need to sit in a dense arrangement, many engineers place the close mic slightly higher, near the fingerboard end of the upper bout, to capture a little more bow articulation and edge. For solo recordings where warmth and resonance are the priority, the lower bout area at a slightly greater distance tends to give a fuller, more open tone.
The f-holes are not the sweet spot — they are a trap that turns a rich instrument into a nasal telephone recording.
Microphone Placement: Acoustic Bass
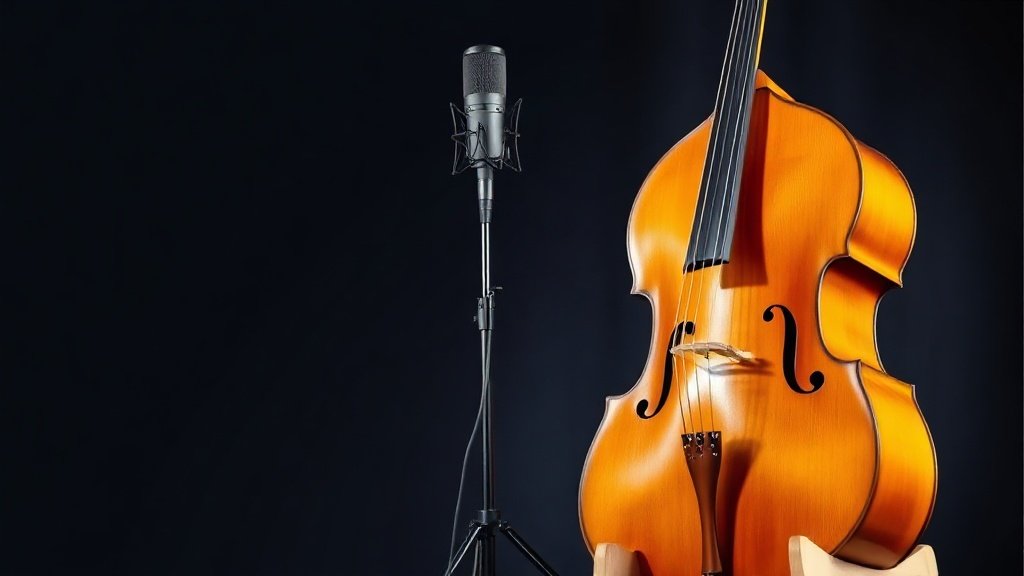
The acoustic bass is the most demanding of the three instruments from a low-frequency management standpoint. Its fundamentals begin around 40 Hz on the lowest open string, and the combination of body resonance and bow or pizzicato transient attack means the mic needs to handle both wide dynamic swings and a very wide frequency range simultaneously. A large-diaphragm condenser with a pad option is the safer choice here: the Neumann U 87 Ai with its 10 dB pad engaged gives you headroom to handle the louder passages without clipping the preamp input.
Placement is typically between 30 and 60 centimetres from the instrument body, positioned toward the bridge and upper bout rather than directly at the f-holes. Angling the mic slightly away from the f-holes — perhaps 20 to 30 degrees off-axis — reduces the honky midrange bump without losing body or attack. Many engineers add a second mic closer to the neck heel to capture the woody, percussive quality of the instrument, blending the two signals to taste in the mix.
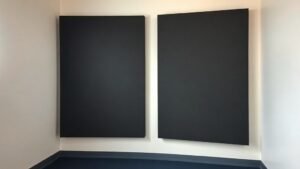
Room positioning matters considerably with acoustic bass. If the instrument is recorded close to a wall, low-frequency build-up can accumulate in ways that are almost impossible to fix in post. Moving the player at least one metre from any reflective surface and testing a few positions before committing to a mic placement takes five minutes and can save significant time later. Bass trapping in the corners of the recording space helps, and investing in broadband absorbers like those from GIK Acoustics or Vicoustic is worthwhile if string instruments feature regularly in your sessions.
Preamps, Interfaces, and Signal Chain Considerations
Condenser microphones on string instruments benefit from a transparent, low-noise preamp that does not colour the signal before it reaches the converter. The Universal Audio Apollo Twin X is a widely used interface choice in this context: its Unison preamp technology models transformer-coupled circuit behaviour, giving you the option of a warmer, slightly coloured input or a clean linear path depending on the aesthetic you are after. For purely transparent capture, the Focusrite ISA One with its high-impedance instrument input and discrete transformer circuit offers very low noise floor performance that keeps quiet passages free of hiss.
Self-noise is a genuine concern when recording solo string instruments, particularly in passages where the player uses a light bow and the dynamic level drops significantly. A preamp with an EIN below minus 130 dBu keeps the noise floor below the threshold of audibility in most recording situations. Running phantom power at the correct 48V is important with condenser capsules — reduced phantom voltage can cause subtle tonal changes that are difficult to diagnose without measuring the supply directly.
Working With the Room
String instruments interact with room acoustics in ways that microphones pick up very honestly. A small, reflective room produces early reflections that smear transient detail and add a comb-filtering effect that can make the recording sound like it was made inside a box. If treatment is not possible, recording with the instrument in the largest available space and using a tighter polar pattern — hypercardioid or supercardioid — reduces the room contribution at the microphone without requiring acoustic panels.
Larger, more reverberant rooms can work beautifully for string instruments if you treat the close mic and room mic separately in the mix. Capturing a genuine room sound on a room mic, rather than adding artificial reverb later, preserves the natural relationship between direct sound and ambience that most digital reverbs struggle to replicate convincingly. If the room has a pleasing acoustic character, a single omnidirectional microphone like the DPA 4006A placed four to five metres back gives you a room signal that can be blended under the close mic to add depth and air without sounding processed.
Placing the microphone directly in front of the f-holes is a fundamental error. The f-holes project a narrow band of midrange energy that becomes aggressive and honky when captured at close range; positioning the mic above or to the side of the instrument body produces a far more balanced result.
Using a single cardioid microphone too close to a cello or acoustic bass introduces unwanted proximity-effect bass boost. This bass build-up competes with the natural resonance of the instrument and makes the low end thick and undefined; moving the mic back to at least 40 centimetres or switching to an omnidirectional pattern resolves the problem without equalisation.
Ignoring the room until the session has started is one of the most costly time decisions an engineer can make. Low-frequency build-up near walls and early reflections in small spaces cannot be fixed reliably in post; walking the room with the instrument playing before placing any stands takes far less time than trying to repair the recording later.
Conclusion
Recording bowed string instruments rewards preparation more than almost any other acoustic source. Choosing a microphone that suits the specific instrument, placing it where the full radiation pattern is captured rather than just the loudest projection point, managing low-frequency room interaction before the session begins, and keeping the signal chain quiet and transparent will put you in a position where the mixing process can focus on the music rather than correcting problems that should not have been recorded in the first place.

FREE DOWNLOAD
Stop Guessing. Start Buying Smart.
The specs that actually matter, demystified.
Headphones, microphones, the spec sheet jargon you can ignore — all in one quick-reference PDF. Free, instant, no fluff.
Send Me the CheatsheetYou'll also receive occasional new guide notifications. Unsubscribe anytime. No spam, ever.