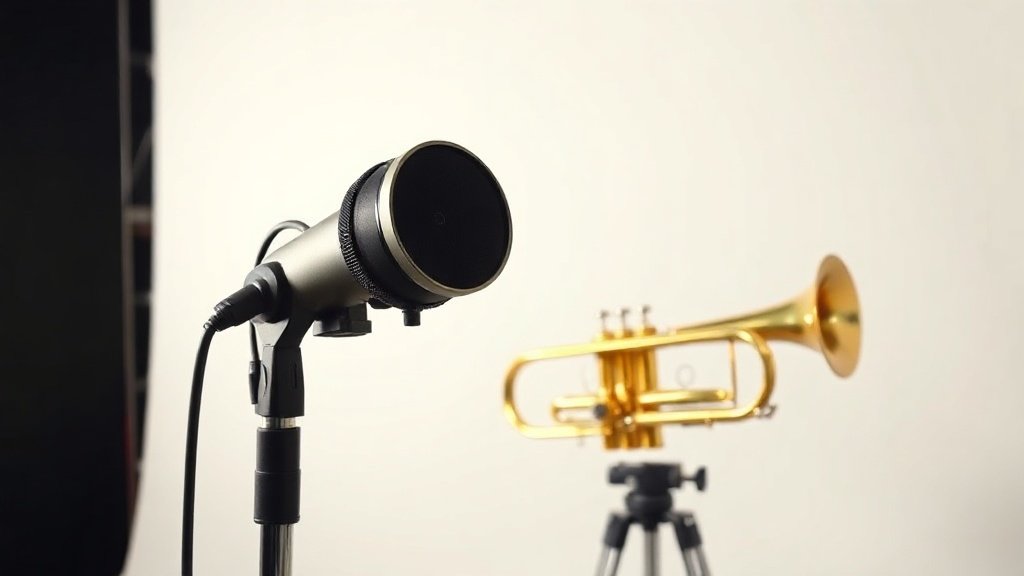
Brass instruments sit at one of the most demanding intersections in recording: extreme sound pressure levels, highly directional projection, and tonal character that shifts dramatically depending on where you place the microphone relative to the bell.
After fifteen years of recording brass in environments ranging from purpose-built isolation booths to reverberant church halls, I can tell you that the microphone choice matters far less than most engineers assume. Placement is the primary variable. A Shure SM57 in the right position will consistently outperform a premium large-diaphragm condenser positioned carelessly in front of a trumpet bell.
This guide covers the three most commonly recorded brass instruments in studio and live contexts: trumpet, trombone, and saxophone. For each one, I will walk through the acoustic behaviour of the instrument, the polar patterns and capsule types that suit it, specific microphone models worth considering, and placement approaches that I have tested and refined over many sessions. There is no universal rule here, but there are clear principles that make a measurable difference to the final recording.
Understanding How Brass Instruments Project Sound
All three instruments project the bulk of their high-frequency energy directly from the bell opening. The further off-axis you move from the bell, the more the upper harmonics attenuate, leaving a rounder, less present sound. This is not necessarily a bad thing. Direct on-axis placement at close range tends to produce an aggressive, forward character that suits some styles and wrecks others. Classical brass recording typically benefits from more distance and slightly off-axis positioning, while a dry funk trumpet part might call for close, on-axis capture.
There is also the question of sound pressure level. A trumpet played fortissimo at close range can exceed 130 dB SPL at the bell. Most studio condenser microphones begin to clip or distort somewhere between 120 and 140 dB depending on the pad settings available. Dynamic microphones handle the SPL more comfortably, which is one reason the SM57 has remained a default for brass in live settings for decades. In the studio, a large-diaphragm condenser with a 20 dB pad engaged will usually cope, but always check the pad is actually active before rolling tape.
Saxophones behave differently from valved brass because they radiate sound through every open tone hole across the length of the body, not only from the bell. The bell projects the lower register and some low-mid energy, but the upper register radiates most prominently from the keys and upper body. This means a single microphone cannot capture the full instrument unless it is positioned well back, giving it enough distance to integrate the complex radiation pattern into a coherent image.
Microphone Types and Polar Patterns for Brass
For studio recording of trumpet and trombone, a cardioid condenser positioned twelve to thirty centimetres from the bell and angled approximately fifteen to thirty degrees off-axis gives a controlled, natural result with manageable low-frequency proximity effect. The Neumann KM 184 is a small-diaphragm cardioid that handles SPL well and captures the brightness of a trumpet without sounding harsh. The AKG C414 XLII with its cardioid pattern selected and a 20 dB pad engaged is a versatile option across both instruments, giving you a flatter top end that suits more straightforward recording tasks.
Dynamic microphones remain highly practical for live reinforcement and for studio situations where the room is less than ideal. The Shure SM57 is the most-used mic on brass for live work worldwide, and it earns that position through reliability and a frequency response that naturally tames some of the shrill edge from a close-miked trumpet. The Electro-Voice RE20, with its variable-D cardioid design, exhibits very low proximity effect even at close range, making it a strong choice for trombone in a live context where the player moves relative to the microphone.
Ribbon microphones bring a different character entirely. The figure-of-eight polar pattern of a ribbon is useful in a well-treated room because the rear pickup lobe captures some natural room ambience, which can blend with the close-miked signal in a pleasing way. The Royer R-121 has become the ribbon of choice for brass in many high-end studios. It handles high SPL better than most ribbons, delivers a smooth top end, and the darker character it imparts suits trombone particularly well. Do not position a ribbon directly in front of the trumpet bell at close range without a pad, and be cautious with active ribbons that draw phantom power near high-SPL sources.
Placing the Microphone on Trumpet
The standard starting point for recording trumpet in the studio is a cardioid condenser positioned fifteen to twenty centimetres from the bell, pointing at roughly the two or four o-clock position relative to the opening rather than straight in. This slight off-axis angle rolls off some of the brightest upper partials and reduces the harsh edge that on-axis close placement tends to produce. From there, you adjust by listening. If the player tends to project their sound sideways by angling the bell naturally, follow that angle rather than fighting it.
Increasing the distance to forty-five to ninety centimetres changes the character substantially. You gain more room sound, the midrange becomes more prominent relative to the high frequencies, and the overall tonality tends toward something more natural and three-dimensional. This is the approach I prefer for jazz recording in a good room, often pairing a close microphone with a room microphone six to ten feet back and blending the two in post.
Placement is the primary variable in brass recording. A Shure SM57 in the right position will consistently outperform a premium condenser placed carelessly in front of the bell.
Placing the Microphone on Trombone
Trombone presents a few specific challenges. The slide extends outward during playing, which means the player moves laterally relative to any fixed microphone. The instrument also produces substantial low-frequency energy from the bell, particularly in the lower register, and proximity effect on a cardioid condenser at close range can make this low end accumulate into something that sounds muddy and indistinct. The Electro-Voice RE20 is worth mentioning again here because its variable-D design suppresses proximity effect and allows you to work closer without that low-end build-up.
A positioning approach that works well for studio trombone is to place the microphone further back than you might expect, typically forty-five to sixty centimetres, and angle it so that the capsule is pointing slightly toward the bell from above or to the side. This gives the low frequencies space to develop acoustically before they reach the capsule and results in a more balanced capture. For live reinforcement of trombone in a stage context, a hypercardioid dynamic like the Audix D6 or the Sennheiser e 906 can be useful because the tighter pattern provides better rejection of adjacent instruments.
Placing the Microphone on Saxophone
Because the saxophone radiates sound from across its body, the most common approach for studio recording is to position a cardioid microphone roughly thirty to sixty centimetres from the instrument and aimed at a point between the upper body and the bell, typically around the area where the neck meets the body on an alto or tenor. This integrates the radiation from both the keys and the bell into a single capture without overly emphasising either. The AKG C414 works well here. The Neumann U 87 Ai at moderate distance is another classic choice for saxophone because its proximity to the source can be adjusted to taste and its slight upper-midrange presence peak adds definition to the saxophone body in a natural way.
Some engineers use two microphones on saxophone: one positioned at the bell and one aimed at the body, blending the two in the mix. This gives more control in post-production over the balance between the low register fullness and the brighter upper register. If you do this, be careful about phase relationships between the two microphones. Bring them up individually on separate faders, check that the waveforms are coherent when summed, and if they are not, try inverting the polarity of one signal. Time alignment using a plugin or physical repositioning of the further microphone can also help.
For live saxophone reinforcement, the clip-on boundary approach is increasingly common. Clip-on condensers designed specifically for saxophone, such as the DPA 4099S, attach near the bell and provide consistent pickup regardless of how the player moves. The DPA 4099 series uses a supercardioid capsule with a small housing designed for instrument attachment. This is not the approach I would choose for a studio recording where quality is the first priority, but for a live stage situation where gain before feedback is critical, it solves real problems effectively.
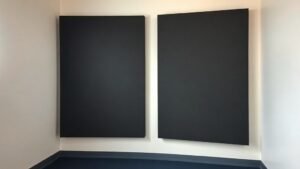
Room Acoustics and Signal Chain Considerations
The room you record in shapes the result as much as microphone choice does. Brass instruments in a reflective space will accumulate early reflections that blur transients and add a smeared quality to the attack. If your recording space is not acoustically treated, moving the microphone closer reduces the ratio of room sound to direct sound and gives you more control. A dead room, however, can make brass sound compressed and lifeless, particularly for trombone and saxophone. Some engineers use portable absorbers placed behind and to the sides of the instrument to create a controlled environment without over-deadening the space.
The signal chain from microphone to recorder also warrants attention. Brass at high SPL can clip a preamplifier input before it clips the microphone itself. A quality preamp with fast transient response handles trumpet and trombone well. The Universal Audio Apollo interfaces provide preamps that are clean and fast enough for this application without adding colour. If you want some character, a Neve 1073-style preamp such as those found in the Neve 1073SPX can add a warmth to the low midrange of trombone that works well in certain musical contexts. Set your gain conservatively, check your headroom, and record at a healthy level without getting closer than minus six dBFS on peaks.
Pointing the microphone directly into the bell at close range is almost always a mistake. On-axis close placement captures the harshest, most compressed version of the instrument. Angle the microphone fifteen to thirty degrees off-axis and pull it back to at least fifteen centimetres to get a more natural and usable sound.
Forgetting to engage the pad on a condenser microphone causes clipping that is difficult to distinguish from distortion until you play the recording back. Loud brass at close range routinely exceeds the undimmed capsule tolerance of even high-quality condensers. Always set a 10 or 20 dB pad before the session begins and monitor your levels carefully.
Treating saxophone the same as trumpet in terms of placement ignores the fundamental difference in how the instrument radiates sound. Saxophone projects from the full body and the tone holes, not only from the bell. Aim the microphone at the middle of the instrument from a moderate distance rather than directly at the bell opening.
Conclusion
Brass recording rewards methodical experimentation more than expensive gear. Start with sensible placement, check your SPL headroom before you start recording, and take time to listen critically at each stage of the signal chain. The differences between close and distant placement, on-axis and off-axis positioning, and dynamic versus condenser capsules are all audible and significant. Get those fundamentals right and the instrument will translate well regardless of which microphone is in the stand.

FREE DOWNLOAD
Stop Guessing. Start Buying Smart.
The specs that actually matter, demystified.
Headphones, microphones, the spec sheet jargon you can ignore — all in one quick-reference PDF. Free, instant, no fluff.
Send Me the CheatsheetYou'll also receive occasional new guide notifications. Unsubscribe anytime. No spam, ever.